
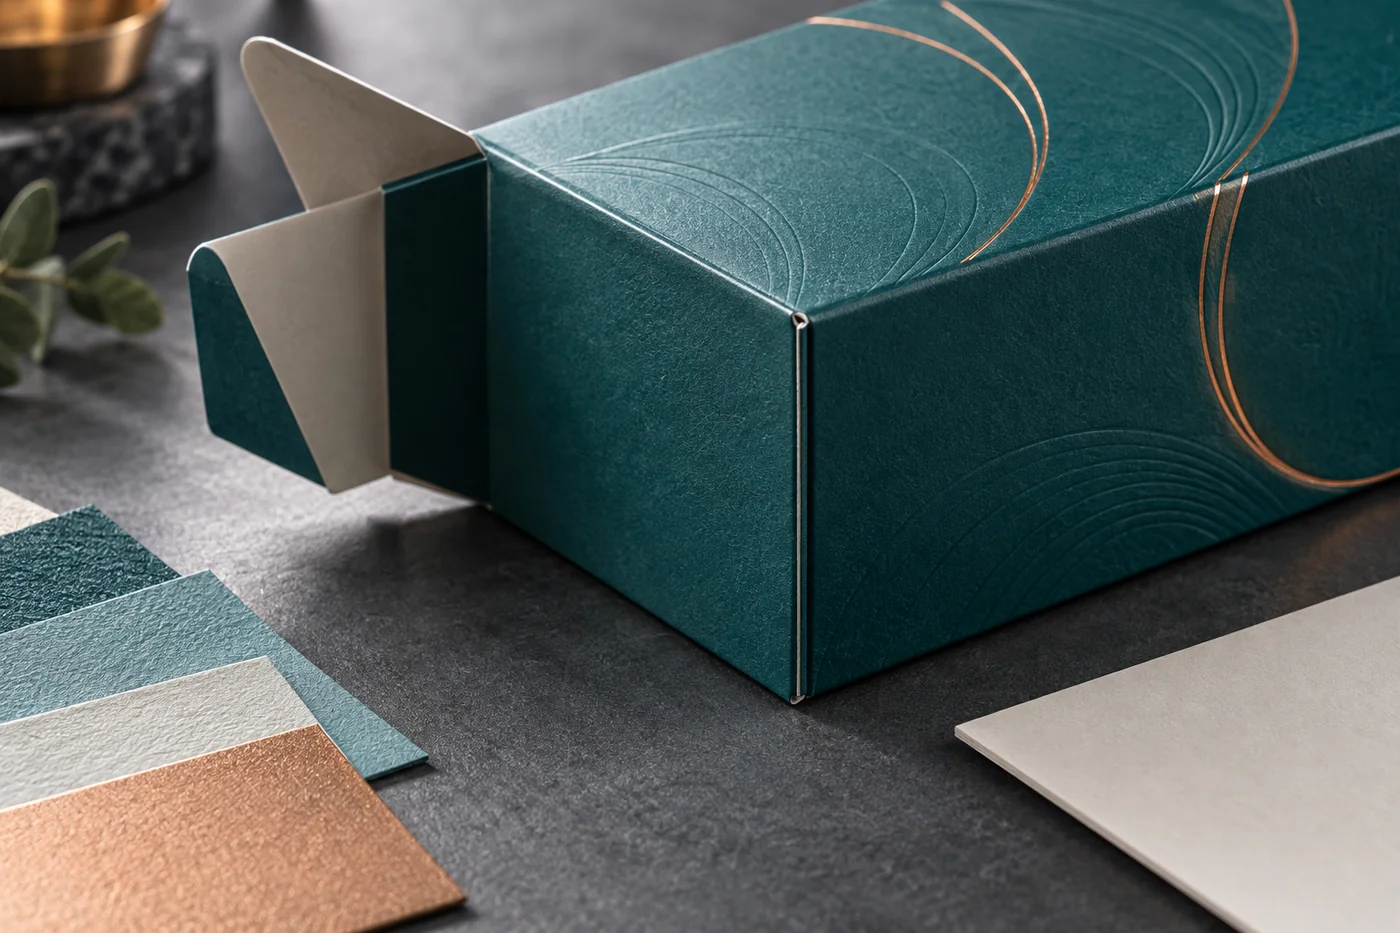
Place the glue seam where the approved carton structure can be manufactured reliably and where the finished overlap least interferes with product presentation, important information and loading. That may be a side or rear edge, but there is no universal rule that the back is always best. Ask the converter to show the glue flap, receiving panel and visible seam on an assembled sample before approving artwork.
For B2B buyers, the useful decision is the relationship between the manufacturer’s joint and the finished panel layout. It is different from troubleshooting a seam that opens after gluing. Decide which faces shoppers see, which panels carry information, and how the carton is erected and filled; then review feasible seam locations with the factory.

Identify three things that a flat drawing can hide
The glue flap is the part of the blank intended to join another panel. The receiving area is the surface it meets. The visible seam is the edge or overlap a customer may see after assembly. Those locations are related, but they are not interchangeable labels. An internal glue flap does not mean that the outside join becomes visually irrelevant.
Esko’s ArtiosCAD glue/mate documentation distinguishes a mating area from its target when connecting carton designs in three dimensions. For a buyer, that provides a useful review method: identify both joining surfaces and inspect their assembled relationship. It does not establish the production dimensions, adhesive or strength of your carton.
On the supplied dieline, ask the structural designer to mark the outside viewing direction, front, back, left and right sides, opening end, flap and receiving panel. Keep an assembled view beside the flat drawing. A mirrored interpretation can move the seam to the opposite display edge even when every individual graphic looks correct.
Choose the priority faces before choosing the seam
Start with the actual retail presentation
Define the main display face and any secondary face shoppers will see. A carton placed in a counter tray may expose one side edge; a carton sold individually may be turned in the hand. Photograph or sketch the intended arrangement rather than calling one panel the back solely because it sits last in the artwork file.
The custom chocolate-bar carton range with straight and reverse tuck options explicitly includes seam position and front-facing artwork in structural review. Compare the proposed format with the wrapped bar and display arrangement. A structure name alone does not approve which finished edge carries the manufacturer’s joint.
Protect the useful information area
List the panels needed for product identity, instructions, codes and variable printing. A relatively quiet side may be a better seam candidate than a crowded rear information panel. Alternatively, the side may carry a critical variant identifier. There is no benefit in hiding the join if doing so compromises the face your packing or retail team needs to read.
Keep small type and important symbols within the converter’s approved safe areas and away from an overlapping edge. Ask the responsible brand or product-data owner to review the information layout. This guide does not set labeling rules or minimum type sizes for any regulated product.
Compare seam locations as complete proposals
| Proposed location | Potential reason to consider it | Question before approval |
|---|---|---|
| Side edge | Preserves a broad uninterrupted front or rear panel | Will the join be prominent in the intended display, and does the side carry critical identification? |
| Rear edge | Can keep a presentation-facing edge visually quieter | Does the overlap conflict with information, a code or a variable-printing area? |
| Another structural arrangement | May resolve a specific loading, window or panel conflict | What changes in tooling, converting, assembly and the approved artwork? |
These are discussion routes, not interchangeable choices that can be moved freely around any blank. Ask the converter which arrangements are feasible for the selected board, size and closure. If no alternative is practical, redesign the graphics around the confirmed seam instead of leaving the factory to improvise a new joint.
Review windows, bands and inserts together
A window changes the space available for artwork and structural features. Ask the designer to show the opening, remaining board, joining area and any film attachment in one assembly view. Assess the actual construction rather than imposing a remembered separation distance from another carton.
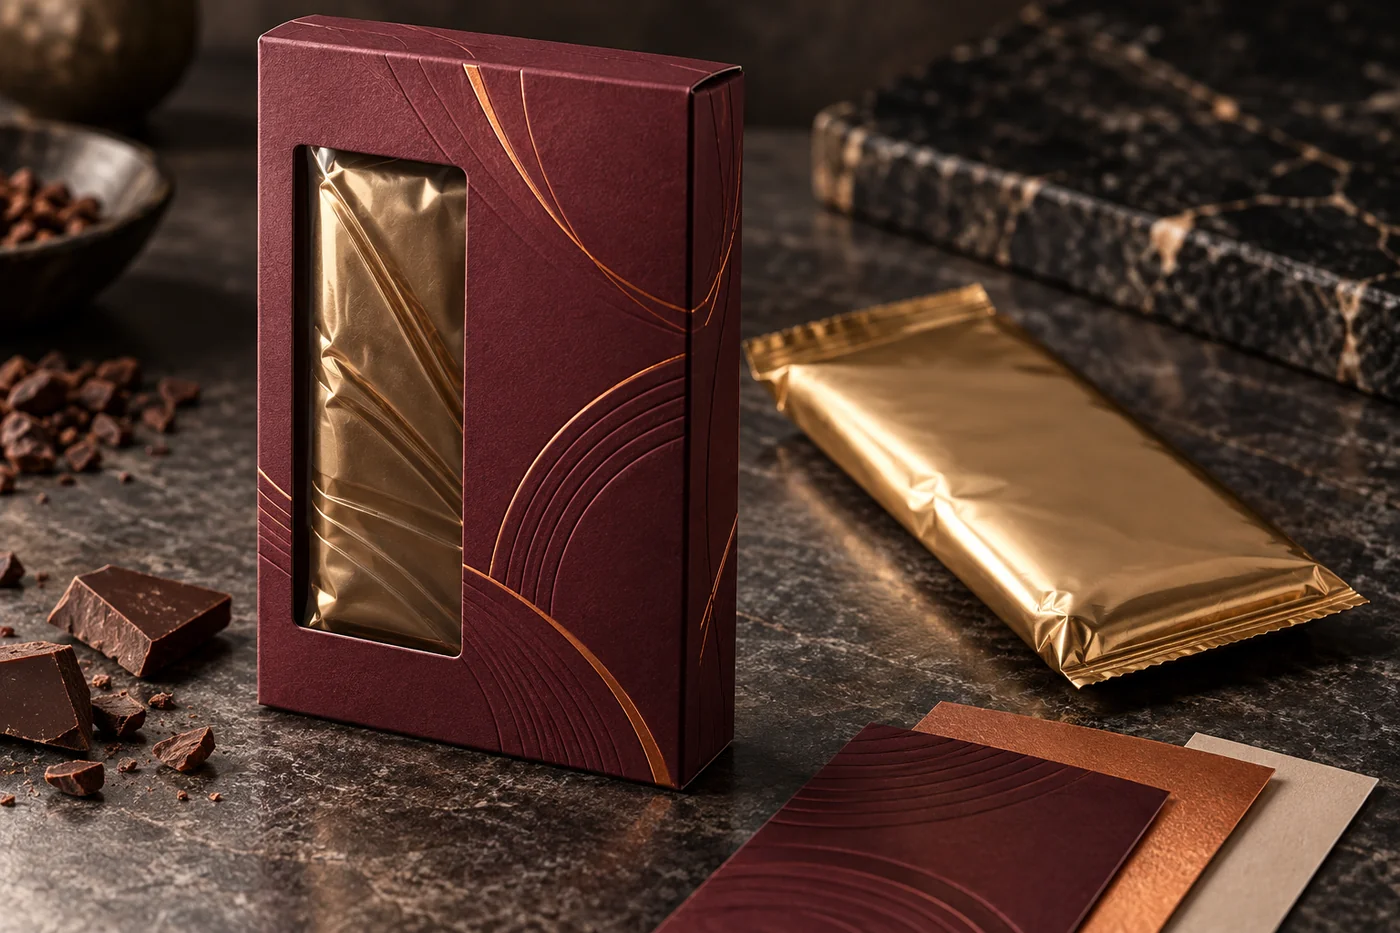
For chocolate-bar window cartons with optional printed belly bands, review the carton both with and without the band. A band can cover part of the finished join, but its position is a separate component decision. Do not rely on it to conceal an uncontrolled overlap or assume it remains in place throughout handling.
The window cartridge packaging range includes a folding tuck-end alternative alongside rigid formats. Use the folding version for this seam discussion. Check the proposed inner support and product-loading direction with the carton; the wrapped rigid sleeve and tray require a separate construction review. A shared window appearance does not make their joints equivalent.
Make graphics tolerant of the finished join
Judge continuity on the assembled pack
A fine border or continuous illustration may look perfect across adjoining panels in a flat layout while drawing attention to a small offset after folding. Decide which graphic elements genuinely need continuity. Where practical, give the join a deliberate visual ending rather than making a critical brand mark depend on a perfectly matched crossing.
For a dark solid design, review the visible edge against the adjacent printed area. For a pale design, inspect the overlap and any exposed edge under normal display lighting. These are sample-review tasks, not a reason to promise an invisible seam. Agree the appearance you will accept on the physical reference.
With custom white-paperboard folding cartons with full-color printing, assess the chosen side joint against gradients, product illustrations and small side-panel information. The page offers several folding formats; select the actual structure before adapting the graphic layout. Do not move a seam by shifting artwork alone.
Keep functional bonding areas explicit
Esko’s packaging prepress overview treats glue areas, cut and fold information, bleed and safe areas as distinct parts of the structural file. Preserve the factory’s functional markings while the artwork is developed. A color shown in a design preview does not explain which surface will be bonded.
Show ink, coating, laminate and decorative finishes near the joint and request job-specific instructions for the actual joining surfaces. Do not copy a universal no-print width or assume every finish must stop at the same distance. The converter should confirm the construction and compatible production route. If the required surface treatment changes, review the seam specification again.
Ask what changing the seam changes in production
A requested seam relocation is a structural change until the converter confirms otherwise. Ask whether the blank, cutting form, folding sequence, artwork orientation or packing method must change. Request the revised dieline before approving a price or releasing the old print file.
Specify whether cartons arrive as unglued blanks, flat preglued cartons or erected packs. Those delivery states assign different operations to the supplier and packing team. A seam that looks attractive on an erected sample still needs to work in the delivered condition and normal erection sequence.
For festive printed chocolate-bar cartons with foil and embossed artwork, confirm the selected structure and then check decorative elements at the finished join. Seasonal graphics can change while the structure stays constant, but a requested seam change must not silently inherit the previous structural approval. These are outer-carton decisions, not food-contact or shelf-life assurances.
Approve one seam record, not several disconnected screenshots
Attach a short seam record to the packaging specification. It should connect the structural drawing, panel map, surface treatment and sample. A marked photograph of the approved assembled carton is useful alongside the dieline because it shows the visible edge that the flat file can make difficult to interpret.
- Identify the construction: carton size, board, closure, drawing revision and delivered assembly state.
- Locate the joint: glue flap, receiving surface, finished visible edge and outside viewing direction.
- Map the content: front and rear identity, code areas, variable printing and elements near the seam.
- State surface instructions: approved print and finish boundaries for the joining surfaces, using the converter’s specifications.
- Review the complete sample: erect, load, close and view it in the intended display arrangement.
- Record acceptance: reference photographs, agreed appearance and any separate functional verification required.
A plain structural sample can establish panel relationships and loading access. If the decision depends on a dark printed edge, window film or a decorated joining surface, request a sample representative of those features. Clearly label any difference between the sample and proposed production construction.
Record appearance approval separately from joint-performance checks. A visually neat join is not evidence of adhesive strength, distribution protection or regulatory compliance. Where those properties matter, agree the relevant checks for the complete package with the responsible specialist. Changing the seam can require a new review even when the product dimensions stay unchanged.
Frequently asked questions
Can we always put the seam on the back?
No. Ask the converter to assess the actual carton and panel requirements. The back may carry important information, and the proposed folding construction may constrain the joint. Compare feasible assembled alternatives rather than choosing from a flat graphic alone.
Can a background print across the seam?
Discuss the desired visible result and the functional bonding surfaces separately. Obtain the factory’s artwork and finishing instructions, then approve the folded result. A continuous background does not authorize unreviewed ink or coating in a bonding area.
Does seam approval replace a glue-strength check?
No. Location and appearance are different approvals from the physical bond. Confirm what the sample represents and what separate verification is needed for your selected materials and handling conditions.
Must every artwork update change the dieline?
Not necessarily. If the construction remains identical, retain its approved revision and check the new graphics against it. If the seam, size, board or closure changes, request structural review before using the old artwork layout.
Request a factory quotation with the panel map
Send NEXA Packaging the packed-product dimensions, quantity by artwork, carton style, display orientation, information-panel needs and preferred finishes. Mark the faces that must remain uninterrupted and ask for a feasible seam proposal, revised drawing where needed, and an appropriate sample route.
NEXA Packaging is an actual factory manufacturing custom paper boxes and custom paper tubes. Factory-direct pricing reduces trading intermediaries and added markups; direct production communication supports cost control, scheduling and clear responsibility for production quality and follow-up. Regular production lead time is 7–15 working days, excluding shipping, with the confirmed order schedule depending on quantity, structure, materials, finishes and final approval. Compare equivalent specifications rather than assuming any seam arrangement is always cheaper or faster.
Creation context: AI-assisted drafting and separate model self-review using the linked primary Esko documentation and current product descriptions. The recommendations require project-specific structural confirmation. Images are original AI-generated packaging concepts, not production dielines, customer orders, real factory photographs or test evidence. No human or laboratory review is claimed.