
Choose a glued-in insert when it must stay attached throughout loading, opening and product removal. Choose a removable insert when lifting it out serves a defined purpose, such as accessing a lower compartment or changing an approved layout. A removable tray still needs a way to locate securely in the box. For many projects, the useful third option is a mechanically retained insert that stays seated during normal use but can be deliberately released.
The purchasing question is therefore who should be able to remove the insert, at which stage, and with what consequence? Set that requirement before comparing adhesive prices or approving an attractive interior. This guide concerns the insert-to-box attachment, a separate decision from choosing the insert material or sizing its product cavities.
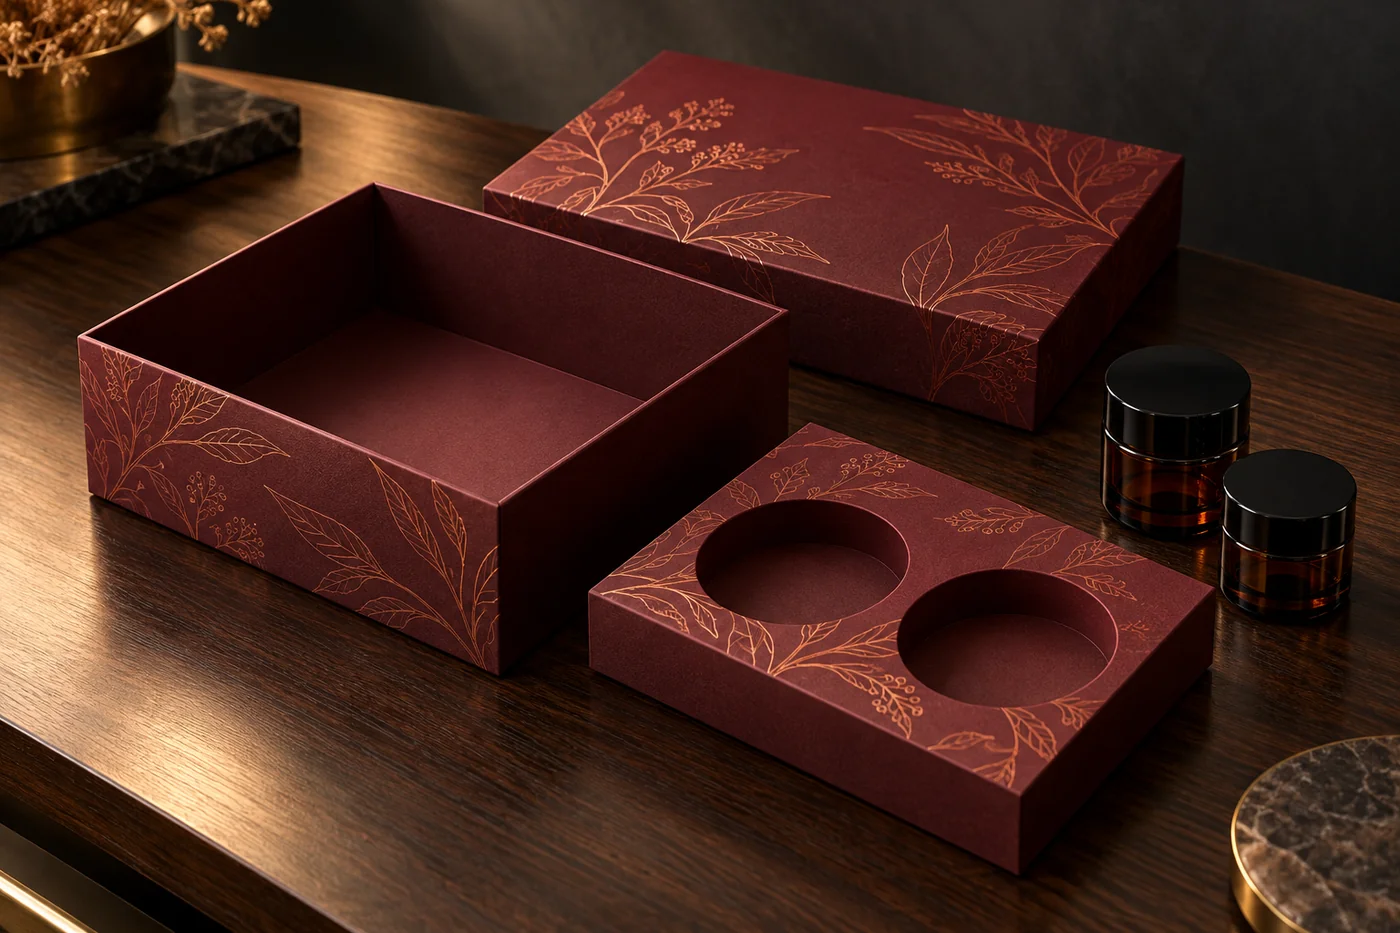
Separate product retention from insert attachment
There are two interfaces to specify. The first holds the product inside its cavity. The second holds the complete insert inside the box. A well-fitting product can pull its tray upward if the second interface is weak. Conversely, a firmly attached tray can leave the product difficult to grip. Adding more adhesive does not resolve an unsuitable cavity.
Draw the intended sequence: open the lid or drawer, grip the product, remove it, then decide whether the insert should remain. Also identify whether a packer ever needs to remove the empty insert before loading. Those two users may need different access, and the approved construction should make the intended action clear.
For a hinged presentation format such as a custom magnetic book-style gift box, consider the interior after the recipient removes the last item. If the brief includes later use of the empty box, a deliberately removable interior may be worth sampling. The box style alone does not establish that its insert is removable or that the finished pack will be reused.
Compare three attachment routes
| Route | Useful starting condition | What the buyer must approve |
|---|---|---|
| Glued-in insert | The tray should remain with the box during every normal interaction | Attachment locations, actual bonding surfaces, installation responsibility and loaded sample behavior |
| Removable insert | A user needs to lift the complete tray for a defined task | Locating features, lift access, orientation and what happens to the contents during removal |
| Mechanically retained insert | The tray should stay seated until a deliberate release action | Tabs, shoulders or other proposed retention features, release sequence and repeated-use behavior |
These are routes to discuss with the converter, not a promise that every material and box can support all three. Obtain a drawing and representative sample for the proposed method. A friction fit described only as “snug” leaves too much open to interpretation.
When does gluing the insert make sense?
The interior needs a stable reference position
Consider attachment when the insert position controls a visible reveal, keeps a compartment aligned or prevents the complete tray lifting during ordinary product removal. Mark the intended attachment areas on the structural drawing rather than asking for the tray to be glued “as usual.” Keep the product-contact requirements separate.
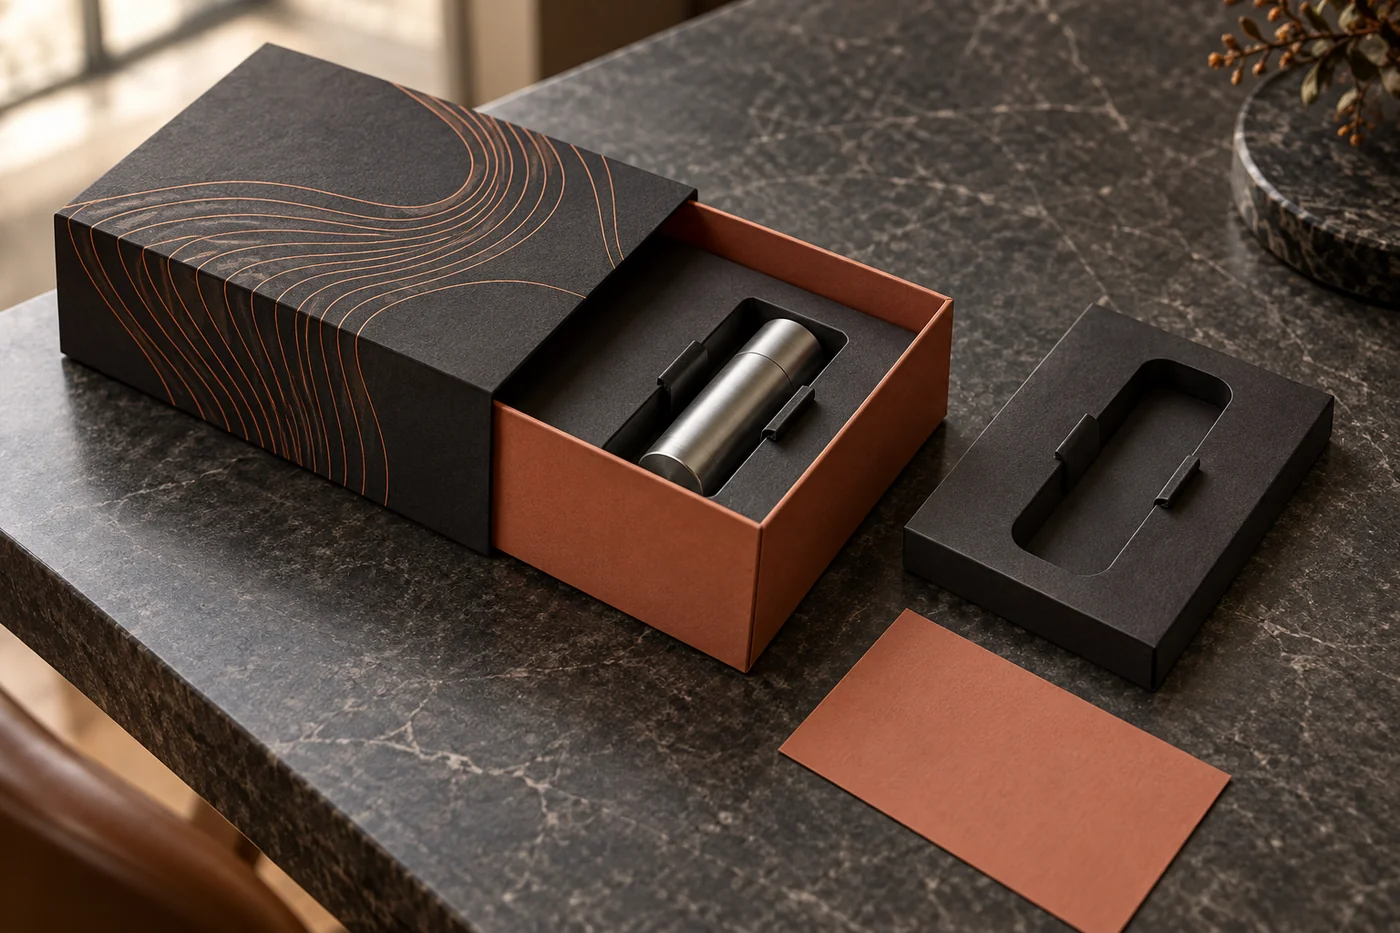
In windowed slide-out boxes with fitted inserts, an insert that shifts can change the view through the sleeve. Review the closed pack, partly opened drawer and fully opened drawer. The attachment must work within the approved tray height and opening clearance; a tidy empty sample does not answer those loaded-pack questions.
The assembly scope is clearly assigned
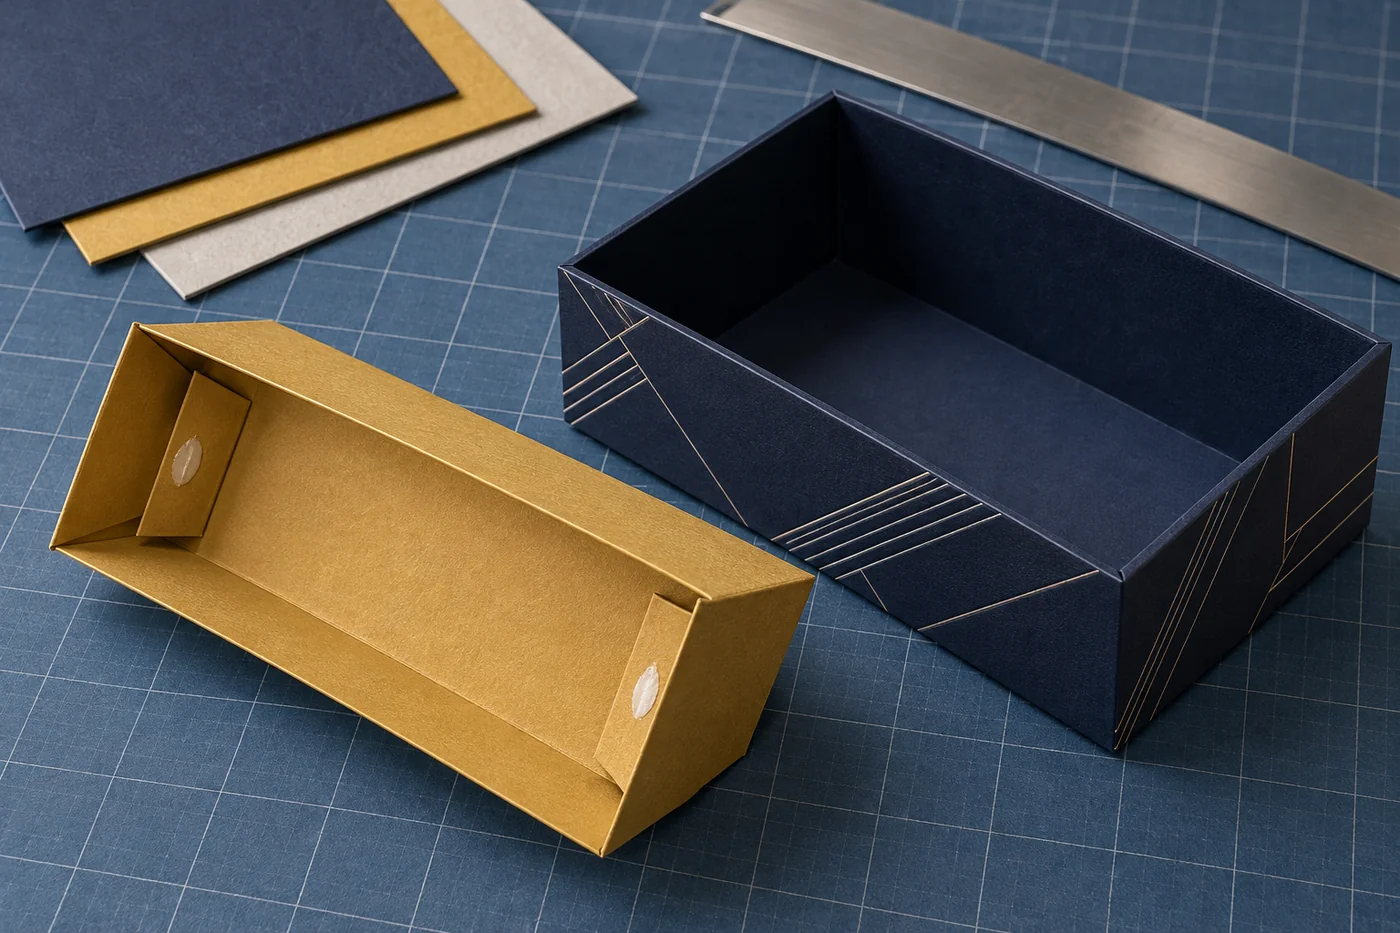
A glued-in tray can move installation work to the box supplier if the quotation includes that operation. It does not remove the operation from the total cost. State who supplies and applies the adhesive, who checks placement, and whether boxes arrive with inserts installed. If your fulfilment team performs the work, request the agreed application and handling instructions before calculating packing labor.
Ask the converter to identify the actual materials and surfaces being joined. A paperboard tray bonded to a printed base is a different assembly from a foam insert bonded to a lined rigid tray. Require compatibility review and a representative bonded sample. Do not prescribe one universal adhesive, application quantity or waiting time across those constructions.
When is a removable insert the better brief?
Removal has a real user or operational purpose
A lift-out tray may provide access to an accessory compartment or allow an approved inner layout to be replaced. Describe that task explicitly. Who lifts it: the packer, recipient or service team? Are products removed first, or must the loaded tray lift as one unit? The latter requires its own support and handling review.
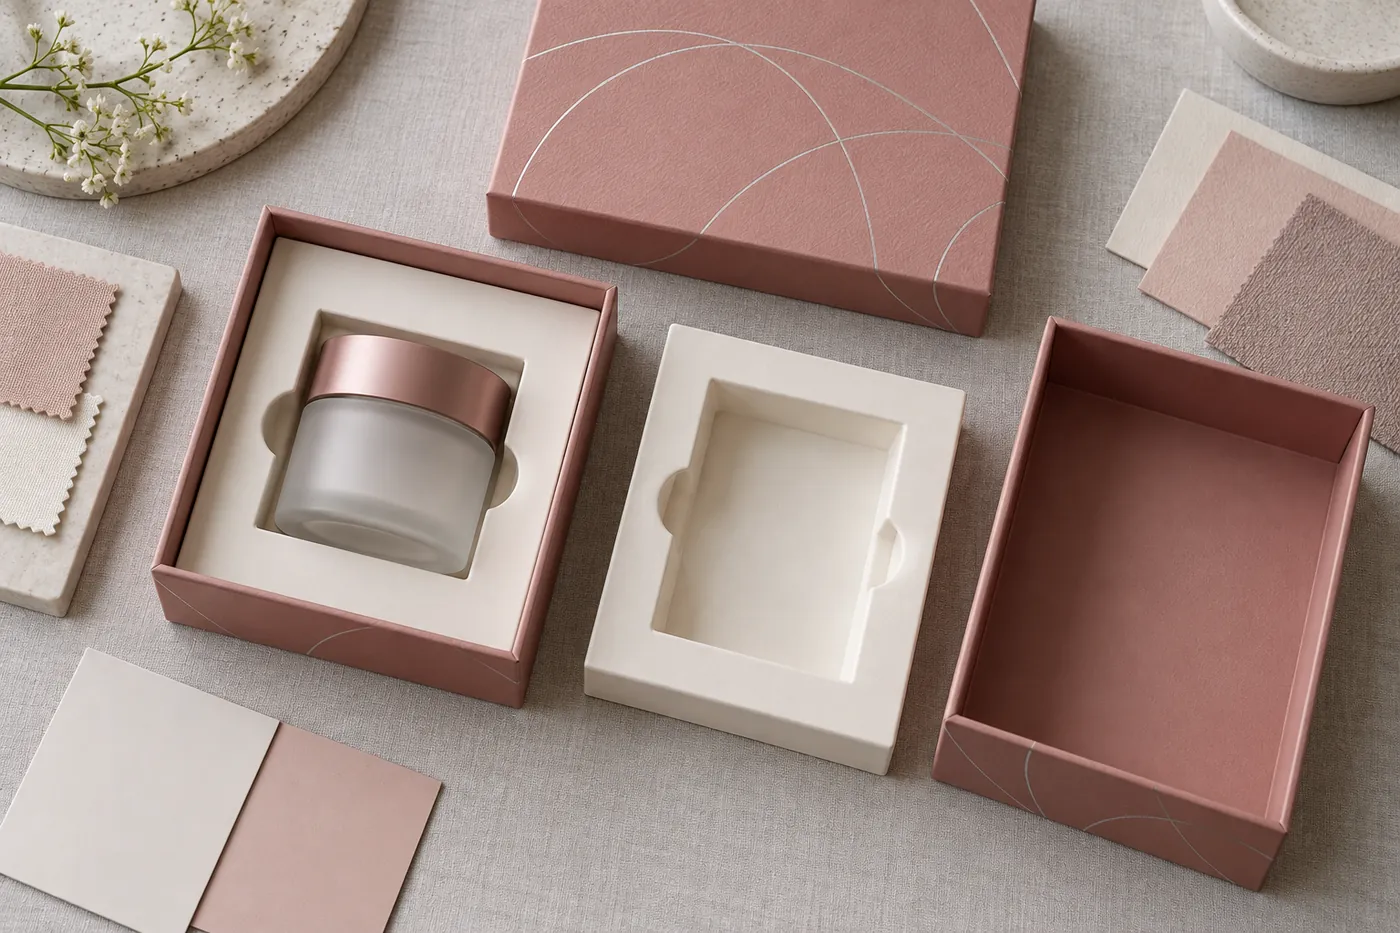
The coordinated rigid-box and paper-tube collection includes gift-set formats and custom paperboard inserts. For a boxed skincare assortment, a removable tray could be proposed so the recipient can access a lower layer. For a tube, the support arrangement is different; do not assume a rectangular lift-out design transfers to a cylindrical pack. Confirm feasibility for the selected format.
Removable does not mean free to move
Ask how the tray locates against the base and walls and what prevents accidental lifting. A designed shoulder, folded tab or other locating feature may be proposed. Each changes the construction and must be reviewed. Simply reducing the insert outline until it drops into the box can create movement without creating a useful removal method.
Provide a clear grip point for deliberate removal. Check whether lifting one edge tilts the contents or pulls against a thin bridge. If the insert is intended to stay in place until all products are removed, make that sequence visible in the sample review and any supplied instructions. Avoid adding a decorative ribbon that users could reasonably mistake for a product-removal aid.
Check drawer travel and locking components separately
Opening a drawer moves the inner tray relative to its sleeve. Removing the insert moves a second component relative to that tray. Name both motions in the specification so a request for a removable insert is not interpreted as a fully removable drawer.
For custom cartridge boxes with sliding drawers and insert options, inspect where the insert sits when the drawer reaches its intended opening position. Keep locating tabs, lifting features and attached components clear of the sleeve and any release arrangement. Test the proposed assembled height rather than checking loose components independently.
A push-button cartridge box with a fitted insert adds another dependency: the insert must not obstruct the approved release mechanism. A change from glued to removable should trigger review of the complete configuration. Button appearance and an insert attachment check do not establish child-resistant performance or replace the evidence required for a particular package.
Compare complete installed cost and change consequences
Request quotations against the same outer box, product arrangement, quantities and delivered condition. Separate the insert itself, attachment or locating features, installation, packing materials, structural samples and tooling. A loose insert price cannot be compared directly with an installed tray price.
For your own cost model, add the known component and installation costs, handling and documented rework, then divide by usable completed packs. Leave unmeasured labor and reject assumptions visible. A removable route is not automatically cheaper: additional folds or locating features can introduce assembly work. A glued route is not automatically economical if a small layout change makes the whole assembled box unusable.
Ask a practical change question: if the product or insert changes, which existing components can still be used? Record the answer by part number and revision. Removability may preserve flexibility, but only when replacement inserts fit the retained box and have been approved. Do not call a design interchangeable solely because its outside dimensions match.
Approve the attachment through a staged sample review
Start with an empty assembled box to examine installation and locating features. Next load production-representative products and follow the actual packing sequence. Finally open the pack and remove items in the intended order. Include the smallest or hardest-to-grip item rather than demonstrating only the easiest cavity.
- Loading: Does the insert stay seated when products are placed? Can operators tell its orientation?
- Normal removal: Does the product come out while the insert behaves as specified? Check for lifting, tearing and visible surface marks.
- Deliberate insert removal: Where permitted, can the intended user release it without tools or an improvised grip? State whether products must be removed first.
- Reinstallation: If required, does the tray locate correctly again and allow the box to close normally?
- Finished condition: Inspect visible attachment areas, unintended exposed adhesive, tray alignment and closure clearance.
Agree the number of handling cycles and acceptance criteria for your project before approval. Record observed results rather than writing “strong glue” or “easy removal” without a demonstrated action. These desk-side checks concern assembly and use. They do not establish transport protection; distribution performance needs an appropriate review of the actual packed product and shipping configuration.
Put the attachment decision on the purchase order
- Name the box and insert part numbers, materials and approved revisions.
- State glued-in, deliberately removable or mechanically retained, with the intended user and removal sequence.
- Attach a drawing showing bond or retention locations and prohibited interference areas.
- Specify installed or separate delivery and the party responsible for assembly.
- Identify the representative loaded sample and agreed handling checks.
- Require review before changing attachment, lining, insert geometry or relevant closure components.
Frequently asked questions
Is a glued insert always more secure?
No. The result depends on the complete assembly and the surfaces, attachment and loads it must accommodate. Evaluate the proposed bonded construction rather than treating glue as a performance rating.
Can the insert be removable while the product stays firmly held?
Possibly, because product retention and insert-to-box retention are different interfaces. Check both, including how the loaded tray is handled. Approval of one does not approve the other.
Does a removable insert make the pack recyclable?
Removal can make component separation easier, but it does not establish recyclability. Review the actual materials, attached parts and recovery arrangements in the destination before making a claim.
Can we change the attachment after approving artwork?
Request a construction review first. The change can affect installation, finished height, removal and adjacent mechanisms even if the printed panels remain the same. Approve the revised assembly before production.
Request a quotation with the attachment brief
Send the product samples or drawings, box style, insert layout, quantities, delivered condition and intended removal sequence. Ask NEXA Packaging to compare feasible attachment routes with the installation scope and sample requirements itemized.
NEXA Packaging is an actual factory manufacturing custom paper boxes and custom paper tubes. Factory-direct pricing reduces trading intermediaries and their added markups; direct production communication supports cost control, scheduling and clear responsibility for production quality and follow-up. Regular production lead time is 7–15 working days, excluding shipping, with the order schedule confirmed against quantity, structure, materials, finishes and final approval. Attachment options and their costs require a project quotation, rather than a blanket promise of the cheapest or fastest route.
Creation context: AI-assisted drafting and separate model self-review using current PaperBoxPro product descriptions. The attachment comparisons are procurement recommendations, not adhesive specifications or test results. Images are original AI-generated packaging concepts, not customer orders, factory photographs, approved dielines or certification evidence. No human or laboratory review is claimed.