
Choose the capacity of a counter display box from the retailer’s usable space, the finished retail pack and the replenishment plan. Start with the number of visible product facings, then work backwards to depth and stock count. A larger display is useful only if staff can place it, shoppers can remove a pack easily, and the remaining packs stay presentable as stock sells down.
For B2B buyers, the decision is a small system-design problem: the individual carton, display tray, delivery case and store routine must agree. This guide provides a practical way to compare layouts before approving custom counter display packaging. Dimensions and quantities in the worked example are illustrative planning inputs, not standard sizes or validated production tolerances.

Define what the display must do before choosing a pack count
A counter display is a presentation unit that holds individual saleable packs. It may arrive flat for store assembly, pre-assembled but empty, or prefilled inside protective transit packaging. These options create different responsibilities. A visually impressive tray can still be a poor purchase if the retailer has no time to assemble it or if the shipping case cannot protect its projecting header.
Ask the buyer for the maximum external width, depth and height at the actual placement. Include nearby payment equipment, shelf lips and access from the aisle. Check whether the header can extend above the product and whether the display must move each evening. A photograph with measurements is more useful than a vague request for a “small countertop box.”
Our custom printed retail display boxes for candy, energy bars and chocolate are a relevant starting point for this discussion. The final structure should follow the retailer’s brief and the filled pack, rather than assuming that one existing display layout fits every launch.
Measure the finished saleable pack, including its orientation
Work from filled, closed retail packs. Measure the largest intended variant, not only the empty carton or the product inside it. A projecting tuck flap, sleeve overlap or protective overwrap can change the usable spacing. Record the orientation explicitly: front facing forward, narrow edge forward, or packs lying flat.
For custom chocolate bar packaging, the thickness of the finished bar and wrapper affects how many units fit behind each facing. A layout calculated from paperboard thickness alone can overstate capacity. The retail carton also needs its own appropriate product protection; an open display tray should not be treated as a food barrier.
A nominal fill volume is not a package dimension. When evaluating 1ml 510 cartridge drawer boxes for a permitted retail setting, use the closed box’s measured external dimensions. Do not substitute the cartridge’s stated volume for its length or assume a drawer box behaves like a thin folding carton. The display does not replace the individual pack’s required closures or market-specific review.
Calculate facings and depth separately
Facings are the individual packs visible across the front. Depth is the number of packs arranged behind each facing in a simple rectangular layout. Multiplying these gives a provisional capacity, provided every lane holds the same pack in the same orientation. Dividers, stepped inserts and mixed sizes require their own layout calculation.
For a first estimate, divide the proposed usable internal width by the effective width of one lane, including its agreed clearance and divider allowance. Round down to a whole number. Repeat for usable internal depth and effective pack thickness. Have the supplier confirm how clearances and material allowances are applied; do not silently add the same allowance twice.
A worked planning example
Assume a retailer allows a maximum external footprint of 220 × 180 mm. After allowing for walls and the proposed structure, the designer provisionally identifies 210 × 165 mm of usable internal space. Assume the measured retail pack and agreed spacing produce an effective lane width of 68 mm and an effective depth per pack of 22 mm.
- Facings: 210 ÷ 68 = 3.08, rounded down to 3.
- Packs per facing: 165 ÷ 22 = 7.5, rounded down to 7.
- Provisional full capacity: 3 × 7 = 21 packs.
This does not mean the buyer should order a 21-pack display. The retailer might prefer an 18-pack replenishment unit, leaving six packs behind each facing. That option needs a rear spacer or another approved way to prevent excessive movement. Alternatively, reducing tray depth may save counter space. Compare these choices physically before locking the die line.

Compare stock capacity with the replenishment routine
More units mean fewer refills only if those units remain accessible and the retailer wants that much stock on the counter. A deep display can tie up space while hiding most of its inventory behind the first row. A shallow tray may be easier to present but require more frequent staff attention. Neither approach is universally better.
| Layout choice | Useful when | Check before approval |
|---|---|---|
| More facings, shallow depth | Several variants need equal front visibility | Available width and each variant’s label visibility |
| Fewer facings, deeper lanes | Counter width is limited and replenishment is less frequent | Reach to rear packs and stability after partial sell-through |
| Smaller replaceable tray | Staff prefer swapping a prepared unit | Storage space, handling and replacement cost |
| Permanent tray with loose refills | The retailer keeps the same display between deliveries | Cleaning, appearance and refill instructions over its intended life |
If reliable store data exists, use it to estimate stock between refills, then agree a sensible reserve with the retailer. Without that data, ask for a pilot instead of inventing a daily sales rate. Distinguish the opening allocation from the normal refill quantity: a launch may need variety, while repeat orders follow the actual product mix.
For seasonal chocolate bar cartons, the same display footprint may need a different assortment during the holiday period. Decide whether lanes are dedicated to each design or shared. A shared lane reduces structural complexity but can make a nearly empty assortment look unbalanced.
Test the display when it is partly empty
Full displays conceal problems. Closely packed cartons can support each other, making a weak arrangement look acceptable. Remove packs from the centre, one side and the front of each lane. Check what happens when a shopper takes a single unit without carefully rearranging its neighbours.
Look for leaning cartons, a bowed front lip, exposed unfinished surfaces and packs sliding into empty lanes. A divider may help keep lanes distinct, but it also consumes internal width. A low front lip can improve access while providing less restraint. Confirm the balance with real packs rather than specifying a universal front-wall height.
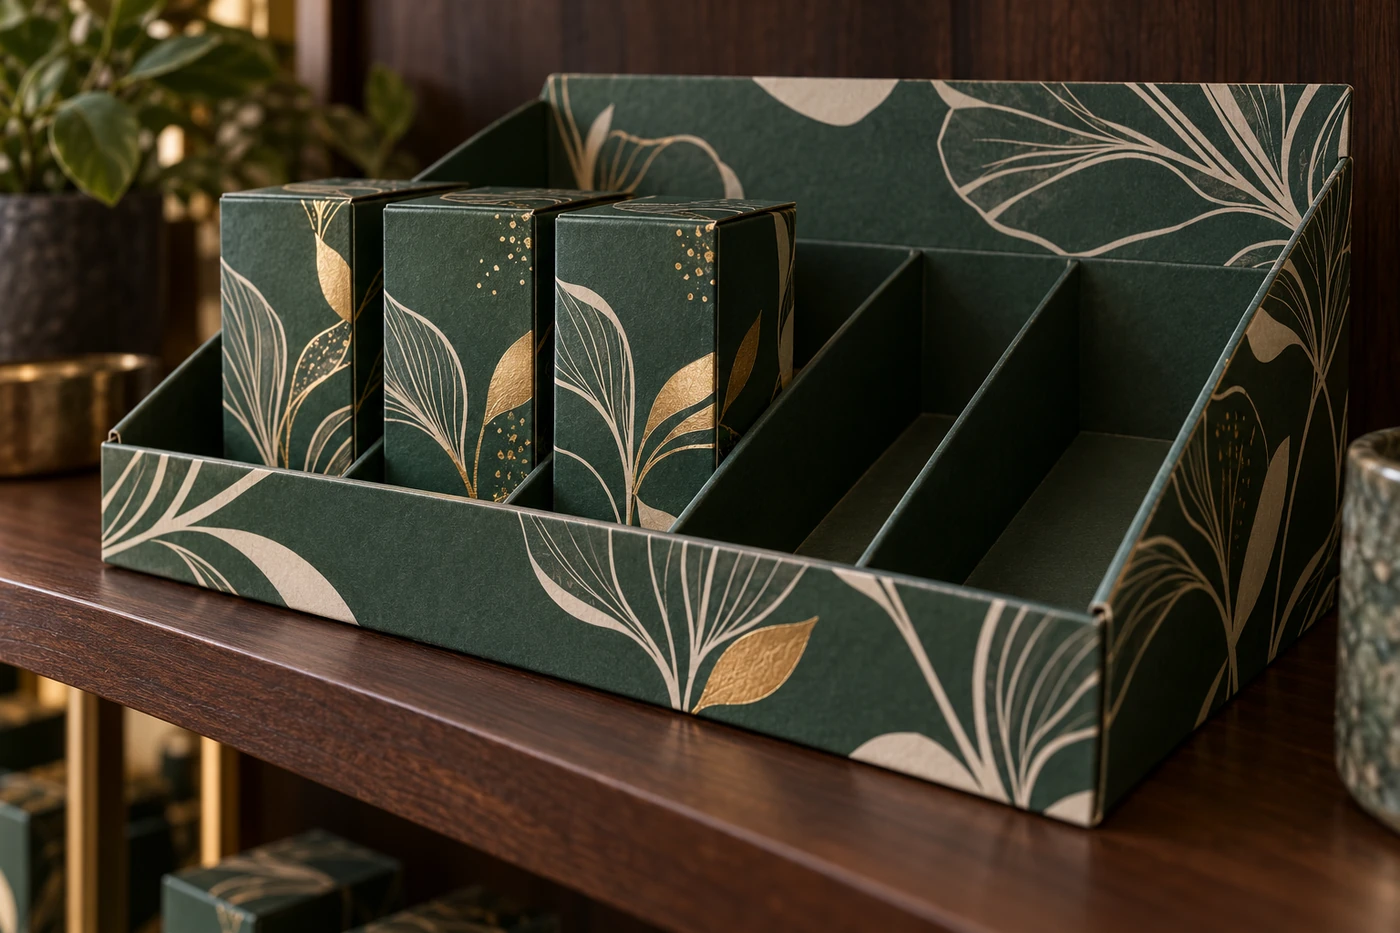
Mixed structures require particular care. The custom vape packaging range includes different structural options; a rigid presentation pack and a folding carton should not share a capacity assumption just because their front artwork has similar proportions. Where these products may be displayed, agree permitted placement and keep mandatory information accessible. This is a layout consideration, not a regulatory approval.
Specify the display and the shipping case as separate functions
A counter display box is not automatically a protective shipping carton. Decide whether the filled display travels inside a separate outer case, whether the header folds down, and which components store staff remove. A retail-ready arrangement should have a clear opening sequence so a knife or tear strip does not damage the saleable packs.
Calculate filled mass from actual components: count multiplied by filled retail-pack mass, plus tray, dividers and any transit accessories. Use this as a design input for the base, side walls and handling method. Do not choose paperboard solely by GSM or assume that an attractive empty sample proves loaded strength.
For distribution validation, ask the supplier or test laboratory to select an appropriate protocol for the real shipment. ISTA’s official testing resources distinguish packaged-product test procedures; a suitable test depends on the distribution situation. A tabletop handling check is useful during development but does not establish transport performance.
Compare quotations on the same delivered configuration
Request separate prices for the display tray, dividers, header, assembly, packing and transit case where applicable. State whether a quotation covers flat blanks or assembled displays, and whether the individual retail cartons are included. Otherwise, a lower unit price may simply omit work performed elsewhere.
Ask for packed carton dimensions and quantities per shipping case. A tray that uses less board can still occupy more transport space when supplied assembled. Conversely, flat delivery can shift assembly labour to your warehouse or retailer. Compare the total arrangement the buyer will receive, not only the printed tray price.
Keep decorative finishing subordinate to function. Put the clearest visual message where it remains visible as stock changes. Review whether the front lip hides the individual carton’s product name and whether a tall header blocks access. Do not pay for a large decorated area that disappears behind the products in the approved layout.
Use this sample approval checklist
- Provide filled packs representing every size and relevant mass variation.
- Confirm external display limits and usable internal dimensions with units and orientation.
- Record facing count, lane allocation, full capacity and intended refill quantity.
- Load the prototype fully, then test several partially empty arrangements.
- Check single-pack removal, label visibility and staff access to the rear row.
- Review the shipping configuration, opening sequence and header protection.
- Confirm the supplied state, assembly steps and responsibility for packing.
- Retain an approved sample and an annotated drawing identifying the agreed revision.
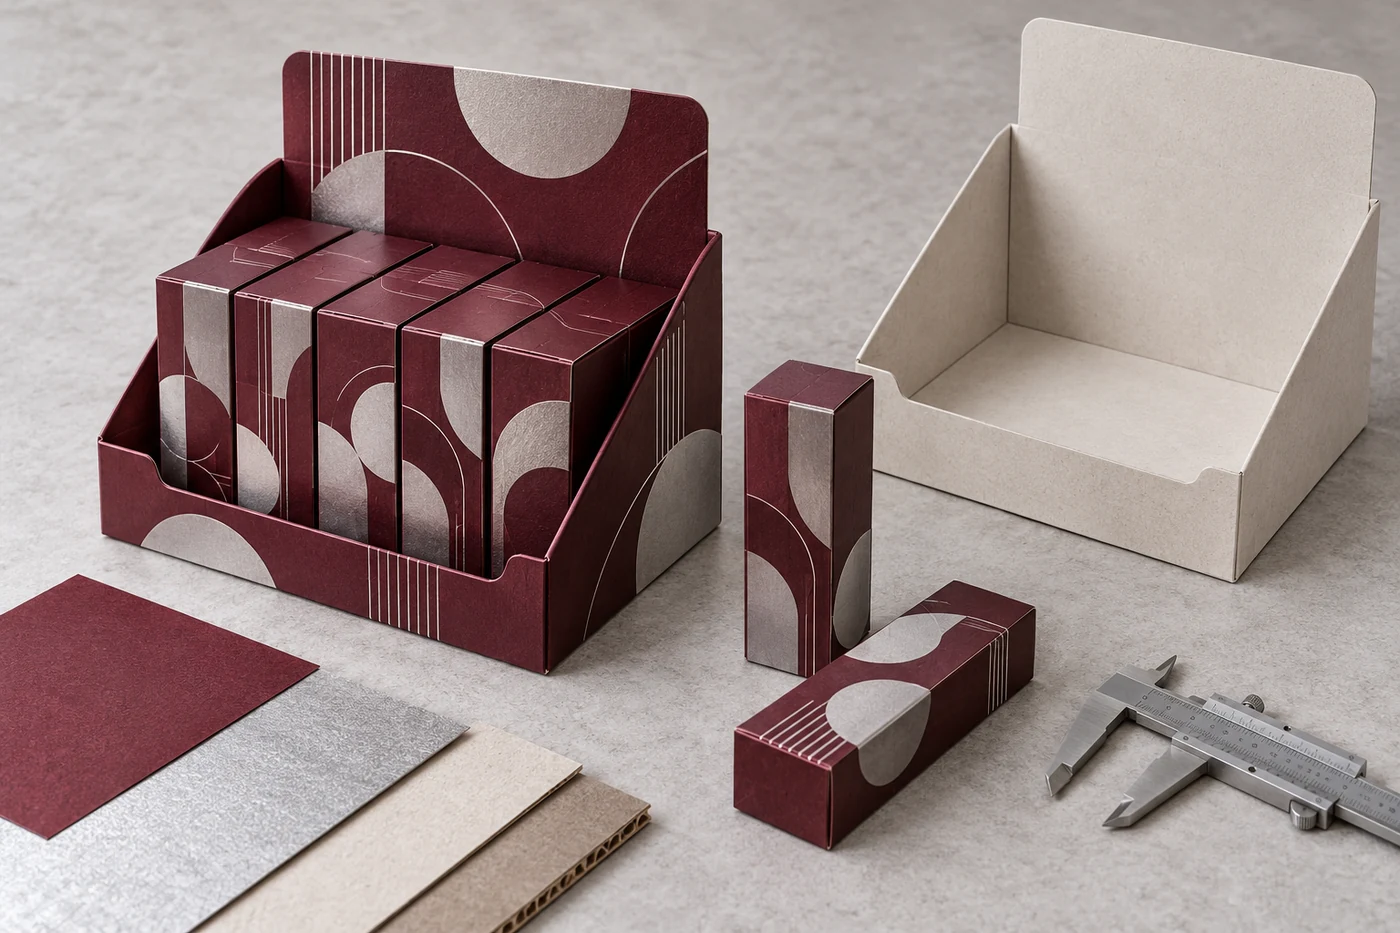
Separate structural approval from printed appearance approval. A plain prototype can answer fit and access questions before you pay for finished samples. The production-intent printed sample should then confirm the selected board, print, finishing and actual packed configuration. Record unresolved items instead of treating a photograph as approval of everything.
Frequently asked questions
Is there a standard number of products per counter display?
No single count fits every brief. The right capacity depends on the available footprint, finished pack geometry, weight and replenishment plan. Start from those constraints, then compare practical whole-number layouts with the retailer.
Can one display hold several product sizes?
It can be designed to do so, but each variant needs a defined position or adjustable arrangement. Check the smallest pack for movement and the largest for removal clearance. Do not approve mixed-size compatibility using only one sample.
Should a display arrive filled or flat?
Choose according to handling, transport space and who performs assembly. Prefilling can simplify store setup but needs suitable protection during delivery. Flat supply needs clear assembly instructions and an agreed packing process at the next location.
What should I send for an accurate quotation?
Send the product category, filled pack dimensions and mass, retailer space limits, proposed facings and capacity, assortment, order quantity, supplied state, artwork requirements and destination. If capacity is undecided, request two layout options against the same placement limits.
Planning a new retail launch? Ask PaperBoxPro to review your filled pack and counter-space brief together. A useful starting request is a comparison of two capacities, each with an annotated layout, sample plan and clearly itemized quotation.
Editorial note: This guide was prepared with AI assistance and model editorial checks. The images are AI-generated packaging concepts, not photographs of supplied products or evidence of tested performance. Final dimensions, materials and suitability require project-specific sampling and approval.