
Spot UV usually cracks, peels, looks dull, or lands off the artwork because the finish was specified without enough attention to the substrate, underlying ink or film, fold position, coating weight, curing condition, and registration tolerance. The practical fix is not simply “more varnish.” A buyer should define what the effect must look and feel like, keep critical gloss shapes away from stressed folds, approve the actual material stack, and inspect a production-representative sample before the full run.
This guide is for packaging buyers comparing folding cartons, wrapped rigid boxes, and small premium retail boxes. It focuses on decisions that can be written into an RFQ, artwork brief, sample approval, and quality checklist. Spot UV is a decorative clear coating, not a guarantee that every surface and structure will behave identically.

First identify which “spot UV problem” you actually have
Different defects point to different parts of the workflow. Describing the symptom precisely makes a supplier investigation faster and prevents an unnecessary redesign.
| Observed defect | Likely area to investigate | Useful evidence to request |
|---|---|---|
| Cracks along a score or hinge | Finish crosses a mechanically stressed line; coating layer may be too rigid or heavy for that location | Flat and fully folded samples, crease position, coating boundary |
| Peeling or flaking from a panel | Compatibility or adhesion between varnish and the ink, laminate, or coated paper | Exact substrate/film specification and an adhesion test on the approved stack |
| Gloss looks weak or patchy | Uneven surface, ink not sufficiently dry, coating absorption, or inconsistent deposit | Wet/dry production sequence, primer plan, coating application record |
| Clear highlight is shifted | Varnish separation, plate/screen, sheet movement, or register setup | Varnish separation PDF and agreed register tolerance |
| Edges are rough or small gaps close up | Artwork is too fine for the application method or coating deposit | Minimum line/gap rule and a 1:1 finishing proof |
Do not group all of these under “bad UV.” Misregister is primarily a positioning problem; missing gloss is an optical and application problem; peeling is an interface problem; cracking at a hinge is a structural-use problem. One correction rarely solves all four.
The material stack matters more than the board name
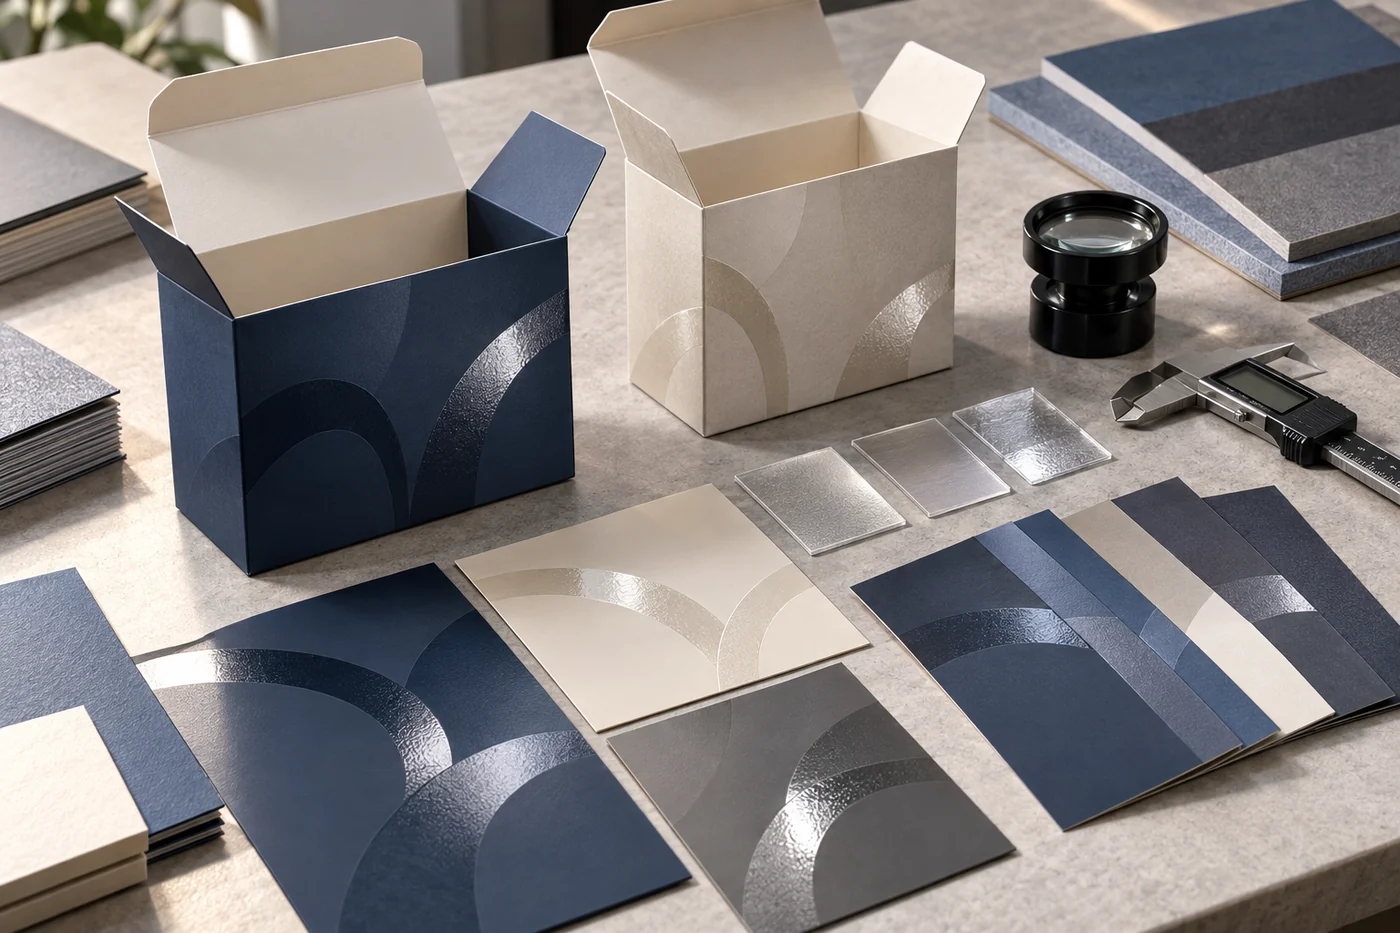
“350 gsm board with spot UV” is not a complete production specification. The clear finish may sit over printed ink, a water-based primer, a matte film, a soft-touch film, coated paper, or a specialty wrap. Each interface changes surface energy, absorption, gloss contrast, and adhesion. Even two films that both look matte can require different coating systems or preparation.
ACTEGA’s troubleshooting guidance explains that gloss depends on the coating, substrate, ink coverage, and coating coverage. It recommends sufficiently dry ink, the correct application amount, a primer when needed, and a homogeneous closed surface for higher gloss. Its technical data sheet for one UV texture coating separately specifies recommended coated paper or board, application method, film weight, and curing conditions. Those documents illustrate an important procurement principle: suitability is tied to a defined system, not to the generic phrase “UV varnish.”
For a book-style magnetic gift box with a wrapped rigid-board construction, the finish normally sits on the printed wrap before or during converting. The wrap then bends around edges and corners. In contrast, a printed disposable vape folding carton is creased and folded from a single paperboard blank. Both may offer spot UV, but their stress zones and approval samples are not interchangeable.
Ask for the full layer sequence
Your RFQ should name the visible paper or film, print process, ink system, any primer, matte or soft-touch layer, spot coating type, and the sequence in which they are applied. If the supplier proposes a substitute, require a new compatibility review rather than assuming the decorative result will remain unchanged.
Keep critical spot UV away from folds, cuts, and glue zones
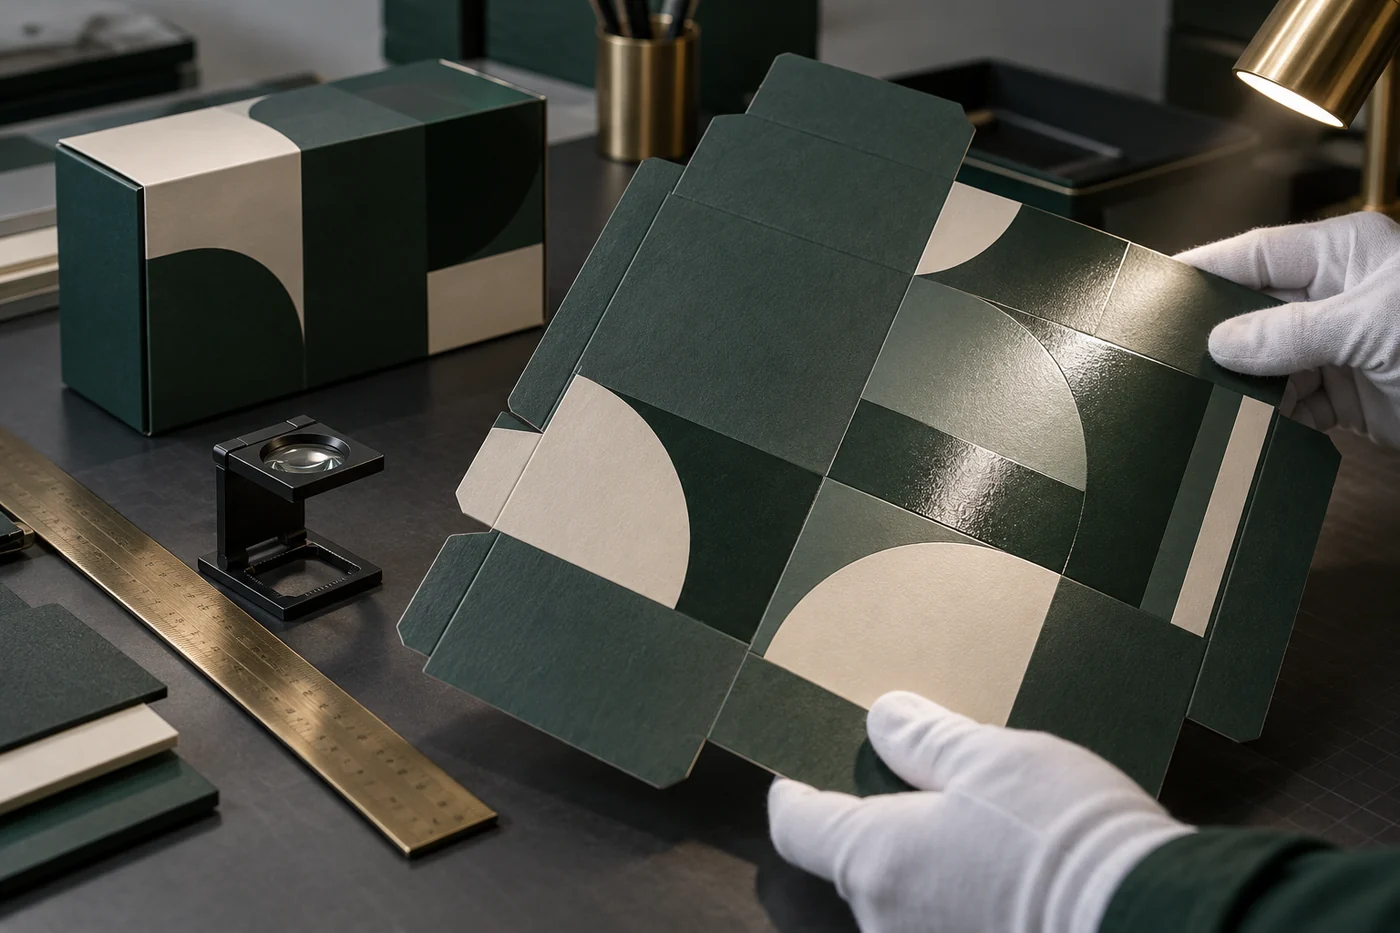
A flat proof cannot show what happens when a coated area is creased sharply, wrapped around a rigid edge, or rubbed during assembly. Thick or high-build effects are especially sensitive because a heavier deposit creates a more pronounced surface layer. A supplier should confirm the safe offset for the actual board, coating, crease geometry, and application method; there is no responsible universal number for every construction.
This is particularly important on a flip-top cigarette carton, where the lid and hinge are repeatedly flexed, and on a child-resistant pre-roll box, where moving parts and access features introduce additional contact points. Place the premium gloss effect on stable face panels when possible. Keep varnish out of glue areas unless the converter has explicitly qualified that combination.
When a highlight must approach a crease, approve the design on a fully converted blank. Open and close the sample repeatedly, then inspect it under side light. A clean flat sheet is not sufficient evidence for a folding or hinged pack.
Registration should be designed, not wished into existence
Spot UV is normally represented as a separate technical separation aligned to printed artwork. Esko’s packaging prepress guide notes that varnish and other finishing effects require separate, correctly named and positioned layers. The same guide emphasizes checking dielines, folds, safe areas, registration marks, and the relationship between artwork and structure before press.
That means a hairline gloss outline placed exactly on a small printed letter is a higher-risk design than a broader gloss shape with intentional overlap. The acceptable solution depends on the press and finishing method, so ask the converter for a job-specific register tolerance. Then adapt the artwork: enlarge the gloss target, introduce a deliberate choke or spread, or move the effect to a larger logo element. Do not use a visually perfect screen mockup as the only acceptance criterion.
Esko also describes automated inspection capable of detecting varnish misregister and partial or full coating starvation during a print run. Buyers do not need to prescribe a particular inspection brand, but they should ask how the supplier checks a transparent layer that can be difficult to judge straight on. Side lighting, a defined viewing angle, first-off approval, and periodic retained samples are practical answers.
Choose the effect before choosing the process
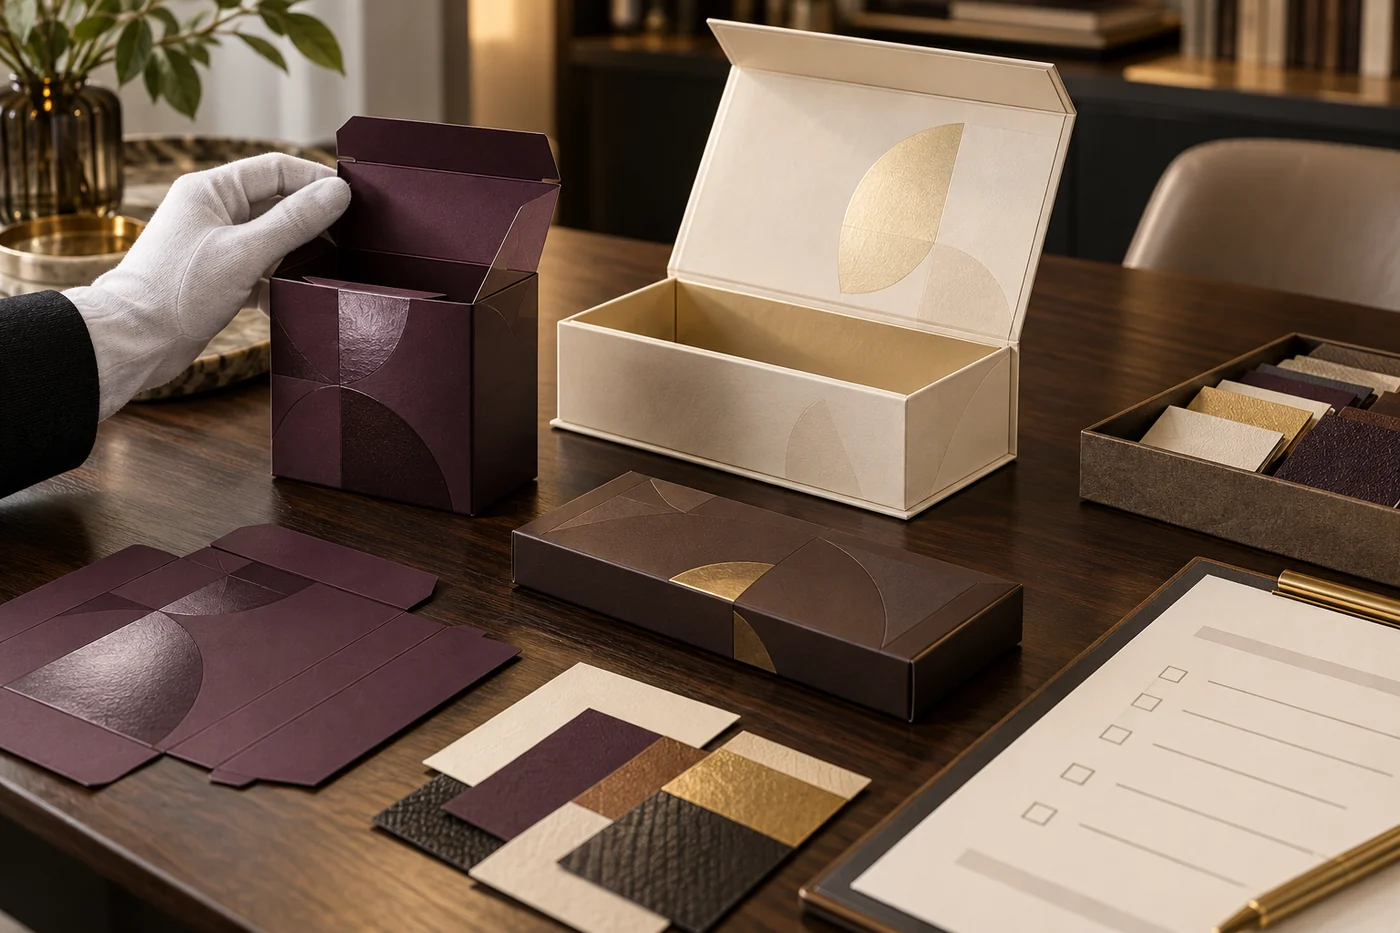
“Spot UV” can mean a relatively flat gloss contrast, a matte texture, or a raised tactile deposit. These are not equivalent in appearance, feel, cost, line definition, or flexibility. ACTEGA’s current technical data sheet for a screen- or high-volume-anilox-applied UV texture coating, for example, describes a relief effect at a specified wet film weight and recommends coated paper or board. That is a product-specific example, not a universal recipe, but it shows why the desired build should be defined before quotation.
- Flat gloss contrast: appropriate when the goal is a light-catching logo or pattern over a matte background.
- Raised or tactile UV: useful when touch and dimensional contrast matter, but fine gaps and fold flexibility need closer review.
- Texture coating: creates a different surface character and should be sampled on the intended board or film.
- Flood coating: covers most or all of a surface and should not be priced or approved as if it were a small local highlight.
A luxury paper box or tube program may use UV to create controlled contrast on a quiet premium design. A festive chocolate-bar carton may use it on larger seasonal graphics. The design intent, contact area, and converting path differ, so send separate finishing maps for each SKU rather than copying one layer mechanically across a family.
Approve a finish sample that answers production questions
A digital mockup is useful for placement, but it does not predict gloss, texture, adhesion, or folding behavior. A plain structural sample checks size and closure, not the decorative finish. For a new material stack or a critical launch, ask for a printed and finished sample made as close as practical to the intended process. If a production-equivalent sample is not economical, require the supplier to state what is simulated and what remains unverified.
Record these approval conditions
- Exact board, wrap, or laminate name and visible side.
- Print and primer sequence beneath the UV layer.
- Spot UV type: gloss, matte, texture, or raised.
- Target location linked to the correct dieline revision.
- Approved gloss or tactile reference under a stated viewing condition.
- Agreed register tolerance and treatment of small gaps.
- Exclusion from scores, cuts, windows, and glue areas unless specifically approved.
- Converted-sample inspection after folding, wrapping, and normal handling.
Keep one signed sample and the approved varnish separation with the purchase record. For repeat orders, compare the new first-off sheet to that retained reference instead of relying on memory or a photograph. This complements the color controls discussed in the guide to repeat-order custom box consistency; UV gloss and registration require their own acceptance criteria.
A buyer’s pre-production spot UV checklist
- Is the decorative objective gloss contrast, texture, or height?
- Does the quote identify the substrate, film, ink, primer, and coating sequence?
- Is the UV artwork a separate, clearly named vector layer?
- Has the supplier confirmed minimum line and gap capability for the chosen process?
- Are critical highlights kept away from folds, hinges, cuts, and glue zones?
- Is the register tolerance written down and reflected in the artwork?
- Was the finish reviewed on the actual or clearly disclosed substitute material?
- Was the converted pack flexed and handled, not only viewed flat?
- Does the inspection plan cover gloss loss, misregister, starvation, cracking, and peeling?
- Will an approved sample and separation file be retained for repeat orders?
FAQ
Can spot UV be applied over matte or soft-touch lamination?
It can be possible, but the coating and film must be compatible. “Matte” and “soft touch” are appearance descriptions, not complete chemical specifications. Request an adhesion and appearance sample on the exact film proposed for production.
Should spot UV cross a fold?
It is safer to keep a critical decorative area off a fold or hinge. If the design requires it, the converter should qualify the coating, deposit, board, and crease together on a fully converted sample. A flat press sheet does not demonstrate fold durability.
Why does the gloss look strong on one box and weak on another?
Surface smoothness, ink coverage, drying, primer, coating amount, and substrate absorption all affect reflected light. Compare the complete material stack and production sequence rather than comparing only the varnish name.
Can a PDF proof show the final spot UV result?
It can confirm location and design intent, but not final gloss, height, texture, adhesion, or folding behavior. Use it with a physical finish reference or production-representative sample.
Define the defect before requesting a correction
A useful supplier message does not say only “the UV is wrong.” Mark the affected boxes, photograph the defect in side light, identify the panel and dieline revision, record whether the issue appears before or after folding, and state how many pieces were checked. That evidence separates a design-risk problem from a material-compatibility, application, curing, or register problem.
If you are preparing a new RFQ, send the structural drawing, print artwork, separate UV layer, material preference, intended effect, and acceptance priorities together. PaperBoxPro can then review whether the finish is being asked to perform on a stable face panel or in a high-stress area. Contact the packaging team with the dieline and finish map for a project-specific discussion.