
Your custom packaging is probably slowing the packing line because the structural design asks operators or equipment to perform too many separate, tolerance-sensitive actions. A box can look excellent in a presentation sample yet become expensive when every unit must be squared, pre-broken, locked, loaded, adjusted, closed and checked by hand. The right response is not automatically to remove every premium feature. It is to identify which motions create value, which motions create delay, and which details make the process unstable.
For a B2B buyer, packing efficiency should be treated as a packaging specification alongside dimensions, board grade, printing and finish. This guide explains how to diagnose a slow pack, compare structures fairly and approve a design using the real product, insert and packing method.
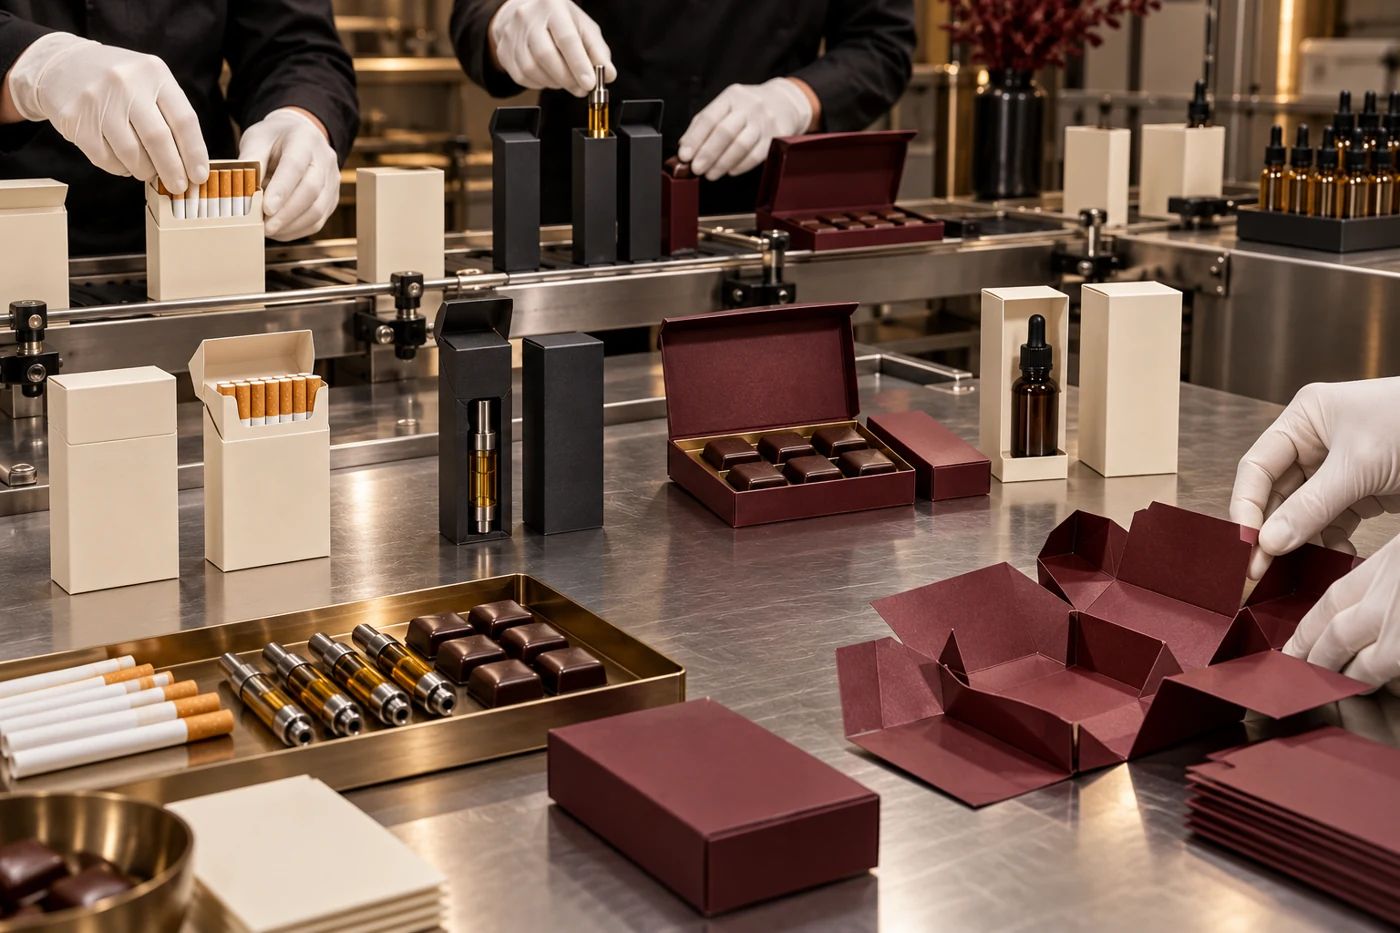
Measure the whole packing cycle, not just box erection
Start with a short video or observation of the actual work sequence. Count every touch from picking up the flat box to placing the closed pack in its shipper. A useful cycle map separates six stages: opening the blank, squaring the body, preparing the base, placing the insert, loading the product and closing the top. Record rework separately. If operators repeatedly reopen a flap, rotate the pack, hunt for the correct insert orientation or push a product past a tight edge, that is a design signal.
Do not rely on one skilled operator. Test new and experienced packers, because an intuitive design should not require hidden technique. Compare consistent batches rather than one demonstration unit. The practical measure is not the fastest successful pack; it is the stable time and reject rate that the intended packing team can maintain without damaging the print or product.
Seven packaging decisions that commonly add line time
1. The box arrives in the wrong state for the operation
A fully flat blank saves volume but transfers more forming work to the packer. A pre-glued carton usually removes at least one assembly operation, while a rigid box arrives formed but consumes more shipping and storage space. The best choice depends on where labor, freight and space are most expensive. A narrow custom flip-top cigarette carton, for example, may suit a repeatable pre-glued format; a gift presentation pack may justify arriving already formed.
2. The base needs too many locking motions
Manual tuck bottoms can be appropriate for small runs and light products, but several interlocking flaps can become a bottleneck. A pre-glued automatic or crash-lock base can erect with fewer motions, although it needs suitable dimensions, board behavior and gluing control. KAMA’s folder-gluer information covers folding and gluing applications for folding cartons, illustrating why the intended conversion and packing route should be defined before the dieline is frozen. Do not assume every automatic-bottom design is faster for every size; test it with the actual board and product load.
3. The insert behaves like a second package
An insert should locate and protect the product without becoming a puzzle. Too many tabs, mirrored parts, weak pre-creases or unclear orientation increase touches and errors. For premium disposable vape packaging, the insert must balance presentation, device retention and fast loading. For a slim chocolate bar carton, a simple product fit may remove the insert entirely. Ask whether each fold performs a protection, retention or presentation function. If it performs none, it is a candidate for removal.
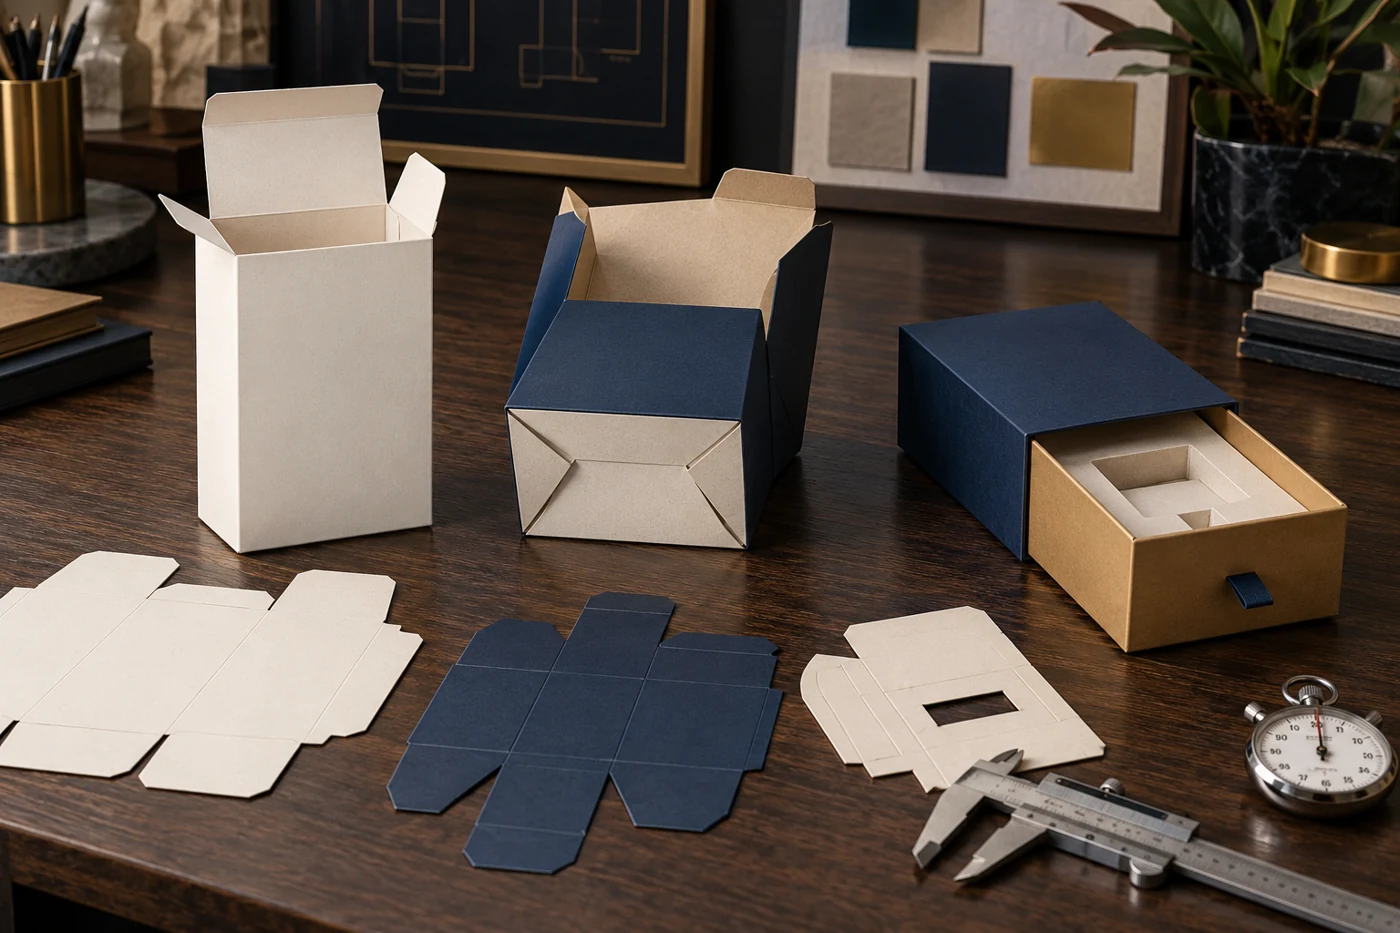
4. Tight tolerances are being used to hide an unresolved fit problem
A sample can be forced together; a production line cannot depend on force. Product dimensions, insert openings, board thickness, crease geometry, coating buildup and manufacturing tolerances combine in the final fit. A cavity that is nominally equal to the product can still bind. A sleeve that feels luxurious in one sample may drag after normal process variation. A slide-out cartridge box should be evaluated for both secure retention and repeatable tray movement, not for the tightest possible sample.
Specify functional clearance as a tested range, not an attractive number copied from the artwork. Use the real product, including caps, seals, labels and any protective bag. If those components vary by supplier, include the credible maximum and minimum in the trial.
5. The packing direction fights the structure
Operators lose time when they must rotate the box between stages or load a product against a flap that springs back. Align the opening, insert orientation, label-facing direction and closing action with the physical flow of the line. A child-resistant pre-roll box adds an intentional opening mechanism, so product loading, insert orientation and secure closing must be planned as one sequence. A functional feature should not create avoidable confusion at the packing station.
6. Premium presentation introduces uncontrolled manual work
Magnets, ribbons, tissue, multiple trays, paper wraps and accessory envelopes can be appropriate for a high-value unboxing experience. The problem is not luxury; it is an undefined assembly method. A book-style magnetic gift box should be reviewed as a sequence: orient the box, place the insert, seat the product, add accessories and close the lid. If the pack must be wiped, aligned or reworked at every step, the quotation should include that labor rather than hiding it behind a unit price.
7. Artwork and finishing obscure functional cues
Operators need to distinguish top from bottom and front from back quickly. Highly symmetrical artwork can remove those cues. Dark soft-touch surfaces can also show fingerprints during repeated handling, while foil or embossing near a fold may discourage operators from gripping the most natural point. Keep premium finishes, but give the packing team an obvious orientation through structure, artwork or component presentation.

Use a controlled comparison instead of arguing about box styles
| Observed delay | Likely design variable | Controlled trial | Approval evidence |
|---|---|---|---|
| Base takes several attempts | Lock sequence, crease resistance or flap geometry | Compare current base with a simplified or pre-glued version | Stable erection across a measured batch |
| Insert is often reversed | Symmetrical appearance or unclear orientation | Add one unmistakable structural cue | New operators load it correctly without coaching |
| Product catches during loading | Insufficient functional clearance | Trial a small set of controlled cavity adjustments | Fast loading with acceptable retention |
| Closure reopens | Tuck geometry, board spring-back or overfilled pack | Test structure and fill condition separately | Closed packs remain stable after handling |
| Frequent line stops | Variation in blanks, feeding or setup | Run a pilot lot under intended line conditions | Documented stop causes and acceptable repeatability |
Machine capability also matters. Koenig & Bauer’s folder-gluer information describes automated settings and rapid job changeovers as ways to reduce non-productive time, while also emphasizing feeding control across carton shapes. The procurement lesson is not that one machine solves every problem. It is that carton geometry, material and equipment setup interact. Give the supplier the intended packing method and equipment constraints early enough to design for them.
Build a three-stage approval plan
Stage 1: structural sample with the real product
Use an unprinted or digitally printed sample to confirm size, loading direction, closure and insert logic. Time several complete cycles. Mark every place where the operator changes grip, rotates the pack or corrects a component. This stage is inexpensive compared with discovering a structural problem after printing and finishing.
Stage 2: finished sample for friction and handling
Production materials and finishes can change how components slide, fold and show handling marks. Test the chosen board, lamination, coating, foil and embossing in the functional zones. A beautiful sample is not approved until it can be packed without scuffing, cracking, fingerprints or excessive force.
Stage 3: pilot run at the intended workstation
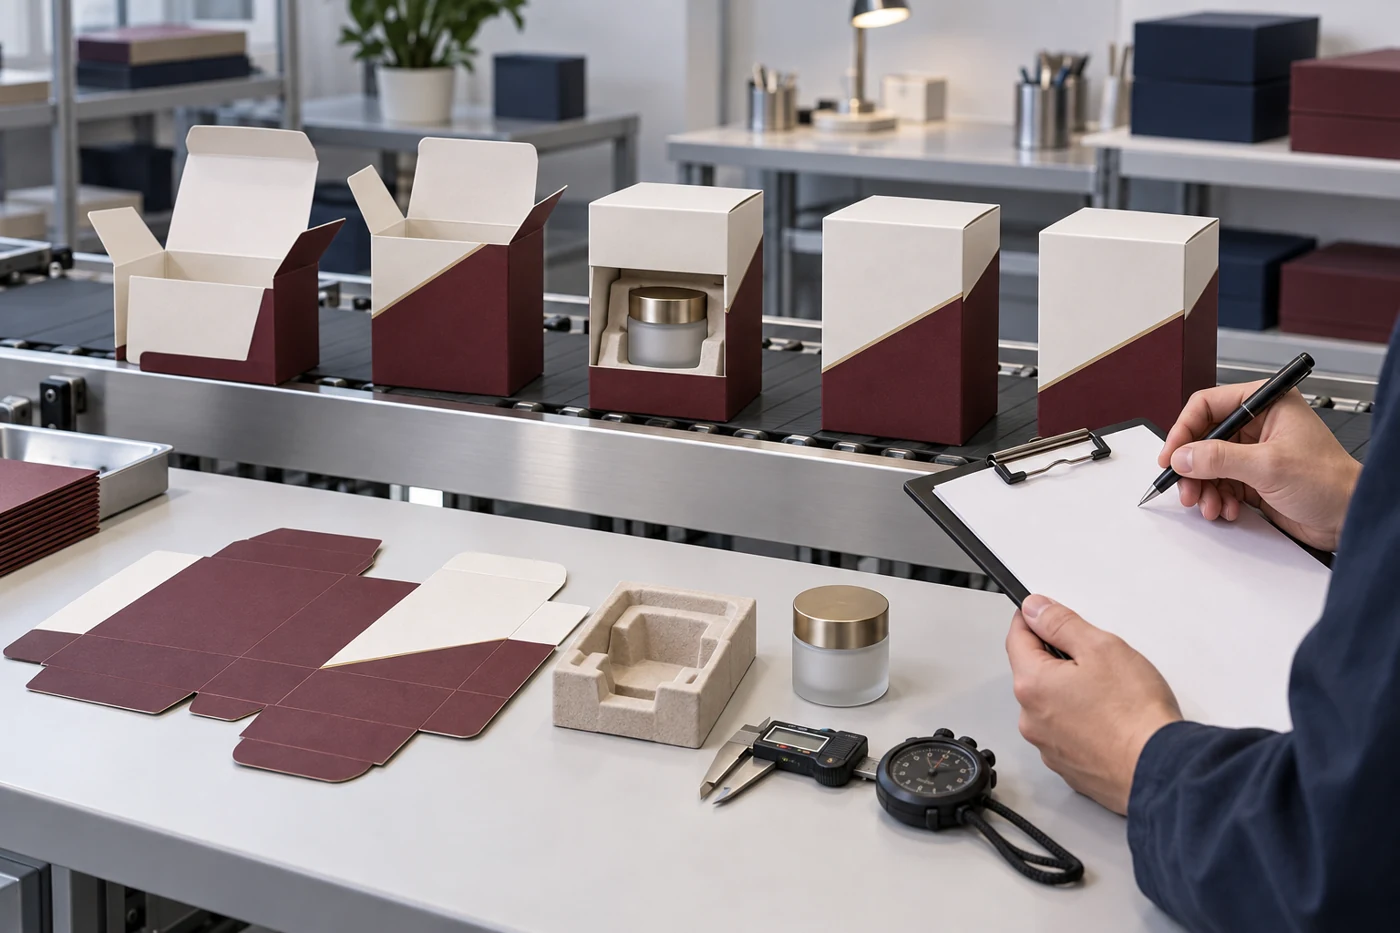
Run enough units to reveal learning effects and recurring faults. Include the intended operators, product presentation, inserts, labels and shipper. Record cycle time, stoppages, rejects and reasons for rework. Do not change several variables at once. If a trial improves performance, preserve the exact dieline revision, material callout and assembly instructions.
What should buyers include in the RFQ?
- Product dimensions, weight and credible dimensional variation.
- Target order quantity and how the packaging will be delivered: flat, pre-glued or fully formed.
- Manual, semi-automatic or automatic packing method and any equipment restrictions.
- Desired loading direction, product-facing direction and closure sequence.
- Insert material, retention objective and acceptable number of assembly steps.
- Finishes that must be kept away from glue, fold, grip or sliding zones.
- Current cycle time, common errors and the business target for improvement.
- Required structural sample, finished sample and pilot-run approval stages.
For a first review, send a short packing video together with the product and current dieline. When discussing a custom packaging project, describe the line problem rather than asking only for a cheaper box. A small structural change can sometimes protect the premium appearance while removing repeated labor.
Frequently asked questions
Is an automatic-bottom carton always faster to pack?
No. It often reduces base-forming motions, but performance depends on size, board, gluing, product weight and how the carton is supplied and fed. Compare it with the current structure under the intended packing conditions.
Should we choose the box with the fewest parts?
Not automatically. An insert or sleeve may provide necessary protection, tamper evidence or presentation. The goal is the fewest justified parts and motions, with each component designed for clear orientation and repeatable handling.
Can a handmade sample prove line efficiency?
It can identify obvious fit and sequence problems, but it cannot prove repeatability. Follow it with finished samples and a pilot batch produced by the intended processes.
What is the most useful information to send a packaging supplier?
The real product, its dimensional range, an existing dieline or sample, a packing video, current failure data and the intended packing method are more useful than a visual reference alone.
Turn assembly time into a design requirement
A premium package should protect the product, communicate value and move through operations predictably. Before approving mass production, make the packer part of the design review, measure the complete sequence and test the finished structure in a pilot run. That turns “the box feels slow” into evidence the supplier can act on—and helps you compare cost per packed unit rather than box price alone.