
Uneven foil stamping usually means the artwork, foil grade, surface and press setup are not working as one system. A supplier can increase heat or pressure and still make the result worse: fine gaps may fill in, coated paper may mark, or a broad metallic area may remain patchy. The practical solution is to define the defect, test on the production-intent material and approve an appearance range before the full run.

What does “uneven foil” actually look like?
Start by naming the symptom. “The gold is inconsistent” is too broad for a corrective action. Missing transfer appears as pinholes, pale islands or exposed substrate inside the foil. A ragged edge looks torn rather than sharply cut. Fill-in closes small counters or narrow negative gaps. Variable gloss makes adjacent areas look like different metallic shades even when the same roll was used. Position variation is a registration issue rather than a transfer issue.
These defects do not always share one cause. A fine logo on a flip-top cigarette carton can be sensitive to tiny text, lid creases and panel position, while a large emblem on a book-style rigid gift box must transfer across a broad wrapped surface. Treating both jobs with the same foil, die and press window can create avoidable risk.
Why hot foil stamping has a process window
In conventional hot stamping, a heated die presses a foil construction against the substrate so the intended decorative layer releases and adheres to the printed or laminated surface. The result depends on contact, temperature, pressure and time, but those controls are interdependent. The correct combination changes with the press, foil family, die area, run speed and packaging surface.
KURZ’s official hot-stamping overview shows why the process is used for effects ranging from fine detail to relief and three-dimensional decoration. That range is useful, but it also explains why a buyer should not approve only a foil color. The same metallic tone can behave differently on a smooth coated board, an embossed sheet or a film laminate.
Six common causes of incomplete or patchy transfer
1. The surface is rough, porous or chemically incompatible
A die contacts the high points of a textured surface first. Deep texture can leave the low points without enough contact, producing small voids. Porous uncoated stocks may also respond differently from coated paperboard. On laminated packaging, the issue may be the foil-to-film combination rather than the board underneath.
Ask the converter to test the actual decorated stack: production board, ink, coating or laminate, and foil. A white paper proof cannot qualify a black soft-touch laminate. For hemp oil packaging boxes, for example, a foil accent should be sampled after the planned print and surface finish have been applied, not on an unrelated stock.
2. The selected foil is not matched to the substrate
Foils are engineered with different release and adhesive behavior. A grade that releases cleanly for small lettering on coated paper may not be the best choice for a large solid on film, or vice versa. Color matching and transfer performance are separate approvals.
Give the supplier a physical target when metallic appearance matters. Then request one or more candidate foils on the real surface. The winning option should be chosen for clean edges, coverage and adhesion as well as hue. Do not assume that one “standard gold” must work across every SKU.
3. Fine detail and large solids demand different conditions
Tiny type, narrow gaps and intricate linework favor a controlled transfer that preserves open spaces. Large solid areas need uniform contact and enough energy across the whole die. Combining both extremes in one stamping form can narrow the acceptable window: settings that fill a broad area may bridge the fine detail, while settings that keep the detail open may leave pinholes in the solid.
Separate passes or separate dies may be worth considering for a high-value design, although they add setup time and cost. A child-resistant pre-roll box can also place decoration near moving or locking features, so the artwork should be reviewed together with the structure rather than as an isolated graphic layer.

4. Die condition and makeready are uneven
A worn, damaged or contaminated die can create recurring gaps. Uneven makeready—the support used to equalize pressure—can produce a strong transfer in one zone and a weak transfer in another. If every sheet has a defect in the same position, inspect tooling, mounting, flatness and local support before simply raising the overall pressure.
A useful trial records the defect location. Mark a few consecutive samples and compare them. A stationary defect suggests a repeatable mechanical or artwork-related cause; a defect that moves around can point toward dust, surface variation, feeding or another intermittent condition.
5. Heat, pressure and contact time are out of balance
Too little effective energy can cause incomplete release. Too much can soften edges, fill negative spaces, distort a heat-sensitive surface or leave an obvious impression. More is not automatically better. Because dwell and line speed interact, a temperature copied from another machine or job is not a reliable purchasing specification.
Instead, require a controlled trial that changes one factor at a time while holding the material and artwork constant. For disposable vape cartons and rigid-box formats, confirm which construction and finish the sample represents; an approved result on a folding carton should not be silently transferred to a wrapped rigid box.
6. The foil area crosses folds, edges or surface transitions
Decoration close to a crease may look acceptable when flat and then crack, distort or shift after conversion. Foil that runs over an embossed feature or from a flat panel toward an edge may receive unequal contact. Build a safe distance from critical folds where the design allows, and review the finished assembled pack—not only the flat press sheet.
This is especially important when comparing different custom cigarette box structures. Panel geometry, hinge behavior and the order of printing, stamping, die-cutting and folding influence what the customer ultimately sees.
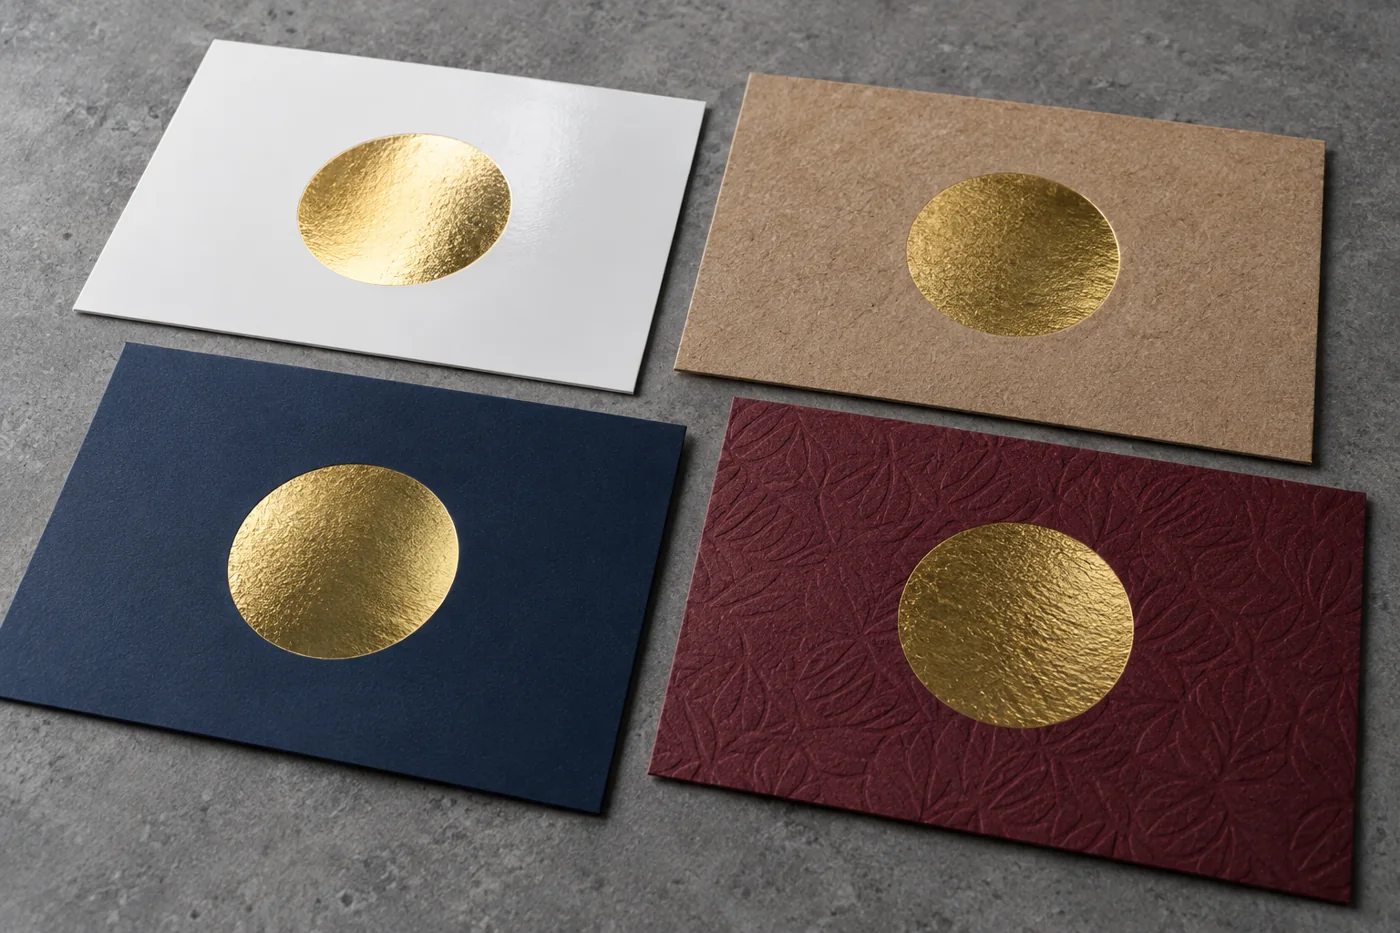
Use the defect to choose the next controlled test
| Observed symptom | Investigate first | Controlled trial | Likely trade-off |
|---|---|---|---|
| Pinholes in a solid | Texture, contamination, local pressure and foil compatibility | Clean the contact area; compare foil grades on the production surface | More aggressive transfer may reduce fine-detail latitude |
| Ragged edges | Die edge, artwork geometry, release behavior and excess energy | Inspect tooling; reduce one process variable in measured steps | A cleaner edge may reduce coverage on broad areas |
| Small gaps fill in | Minimum gap, die temperature, pressure and dwell | Open the artwork gap or isolate fine detail in a separate test | Artwork or an extra pass may add time |
| One panel is weak | Makeready, platen flatness and die mounting | Map the defect position across consecutive sheets | Local correction is preferable to raising pressure everywhere |
| Appearance changes after folding | Distance from crease and conversion sequence | Fold and assemble production-intent samples | The foil area may need to move or shrink |
Approve a sample ladder, not one attractive mockup
A digital rendering can approve placement and visual hierarchy, but it cannot prove foil transfer. A practical approval ladder has three stages:
- Artwork proof: confirm foil separations, overprints, minimum line and gap guidance, registration targets and the relationship to cut and crease lines.
- Material-and-foil trial: stamp representative fine detail and a representative solid onto the intended printed, coated or laminated surface.
- Production-intent sample: use the intended structure and finishing sequence, then die-cut, fold and assemble it for inspection.
The third stage matters when board construction and surface design work together. The Metsä Board special-effects example discusses multiple hot-foil passes, embossing and heavy decorative coverage, illustrating that ambitious effects are a designed process rather than a color choice added at the end.
Define acceptance criteria before mass production
“Perfect foil” is not a measurable instruction. Agree on a signed reference sample and describe what matters most. Critical zones might include the brand mark, legal text or a fine border. Less visible side panels may have a different tolerance. Inspect samples under consistent lighting and at a normal viewing distance, then use magnification only to diagnose a problem rather than invent defects no buyer would see in use.
Sampling should cover multiple positions and times in the run. Looking at only the first sheet can miss warm-up drift, contamination or wear. Record the approved foil reference, substrate and finish, die revision and signed sample so a repeat order is not judged from memory.

What should your foil-stamping RFQ include?
- Final dieline with the foil layer clearly separated from print, cut, crease and emboss layers.
- Vector artwork and defined minimum line, gap and reversed-text requirements from the converter.
- Box style, finished dimensions, board specification and whether the surface is coated, laminated, textured or embossed.
- Target foil reference or a physical appearance sample, plus acceptable variation in gloss and tone.
- Location of critical cosmetic zones and any foil close to folds, edges, locks or moving panels.
- Whether fine detail and large solids share one die, and whether separate trials or passes are being quoted.
- Required proof level, sample quantity, inspection method and signed approval process.
Include photographs of the defect if this is a corrective project, but also send physical samples when possible. A photograph can hide texture and change metallic color. State whether the issue is missing coverage, edge definition, registration, gloss or post-fold damage.
Frequently asked questions
Can a printer fix patchy foil by increasing pressure?
Sometimes low pressure contributes, but increasing it everywhere can fill fine gaps, mark the board or exaggerate an impression. First determine whether the defect is fixed in one location and whether the foil is compatible with the actual surface.
Should large foil areas and small text use the same die?
They can in some designs, but they often have different transfer needs. Test the combination at production scale. If the acceptable window is too narrow, artwork changes or separate passes may provide a more stable result.
Does lamination guarantee a smoother foil result?
No. Lamination may create a smoother appearance, but the foil still needs suitable adhesion and release behavior for that film. The laminate, ink and foil must be tested as a complete stack.
What sample should a buyer sign?
Sign a production-intent sample made with the approved structure, decorated surface, foil and finishing sequence. Keep the foil reference and revision details with the sample so later runs have a traceable target.
Turn the complaint into a controlled specification
Uneven foil is easiest to solve when everyone works from the same symptom, material stack and acceptance sample. Define the critical zones, test the real substrate, separate incompatible artwork demands when necessary and approve the assembled package. If you are preparing a new foil-decorated box or troubleshooting an existing design, send PaperBoxPro your dieline, structure, finish stack and target sample for a production-focused review.