
Dark printed boxes can show scuffs before delivery because their surfaces rub against neighboring packs, shipping-case liners, equipment, or loose particles. Dark colors often make pale marks and changes in surface gloss easier to notice. Preventing the problem means matching the protective finish to the actual contact conditions, checking the finished production construction, and controlling how boxes are handled and packed.
For a buyer, the useful question is not simply whether a box is laminated. It is whether the specific print-and-finish combination can survive the route from converting to filling, warehousing, shipment, and retail presentation. A beautiful approval sample does not answer that question unless it has experienced representative handling.
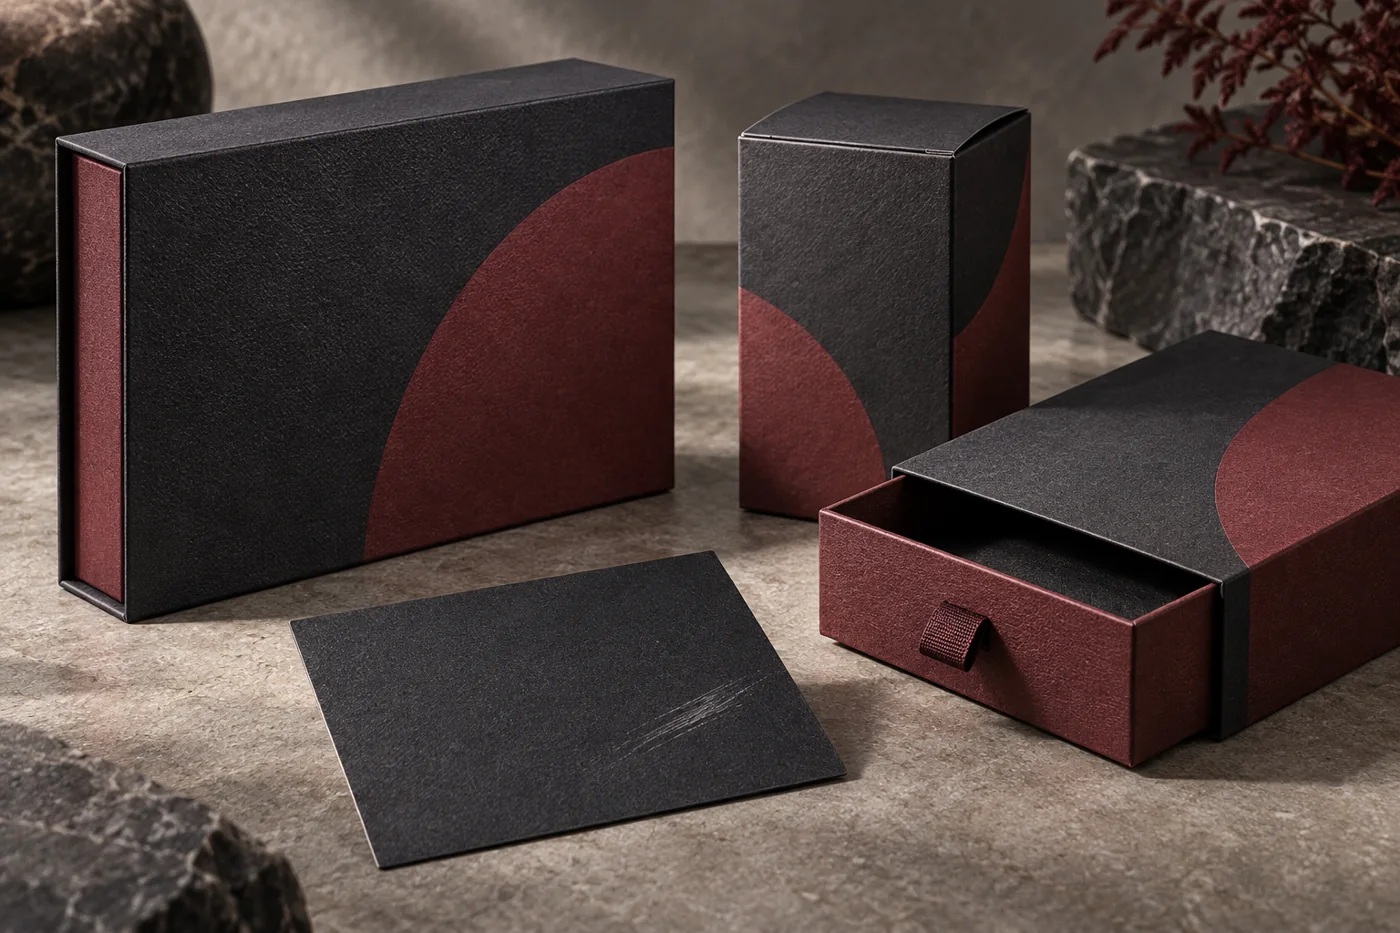
Identify the mark before changing the specification
Several defects get called “scratches,” but they need different corrective actions. Examine returned samples under consistent lighting, record the affected panel, and compare them with retained samples from the same production lot. Photograph both the overall pack and the damaged area. Avoid diagnosing solely from a heavily compressed phone image.
| What you observe | What to investigate | Useful next check |
|---|---|---|
| Pale streaks across a large dark panel | Surface abrasion or transfer from a contacting material | Compare the mark with the adjacent box, divider, or case liner |
| A shiny patch without obvious color loss | Surface polishing or a change in texture | View the affected and untouched areas at the same angle |
| Color appearing on another surface | Ink transfer or an inadequately protected print layer | Review the ink, drying or curing conditions, and finishing sequence |
| White lines concentrated on folds | Crease cracking or exposed board fibers | Check scoring, folding direction, substrate, and finish flexibility |
| Film lifting at edges | Lamination adhesion or converting damage | Assess bond quality and the location of cutting or folding stress |
These are diagnostic starting points, not conclusions. A stronger surface film will not automatically fix crease cracking or a poorly bonded laminate. Request a corrective-action proposal that names the suspected failure mechanism and shows how the revised sample will be evaluated.
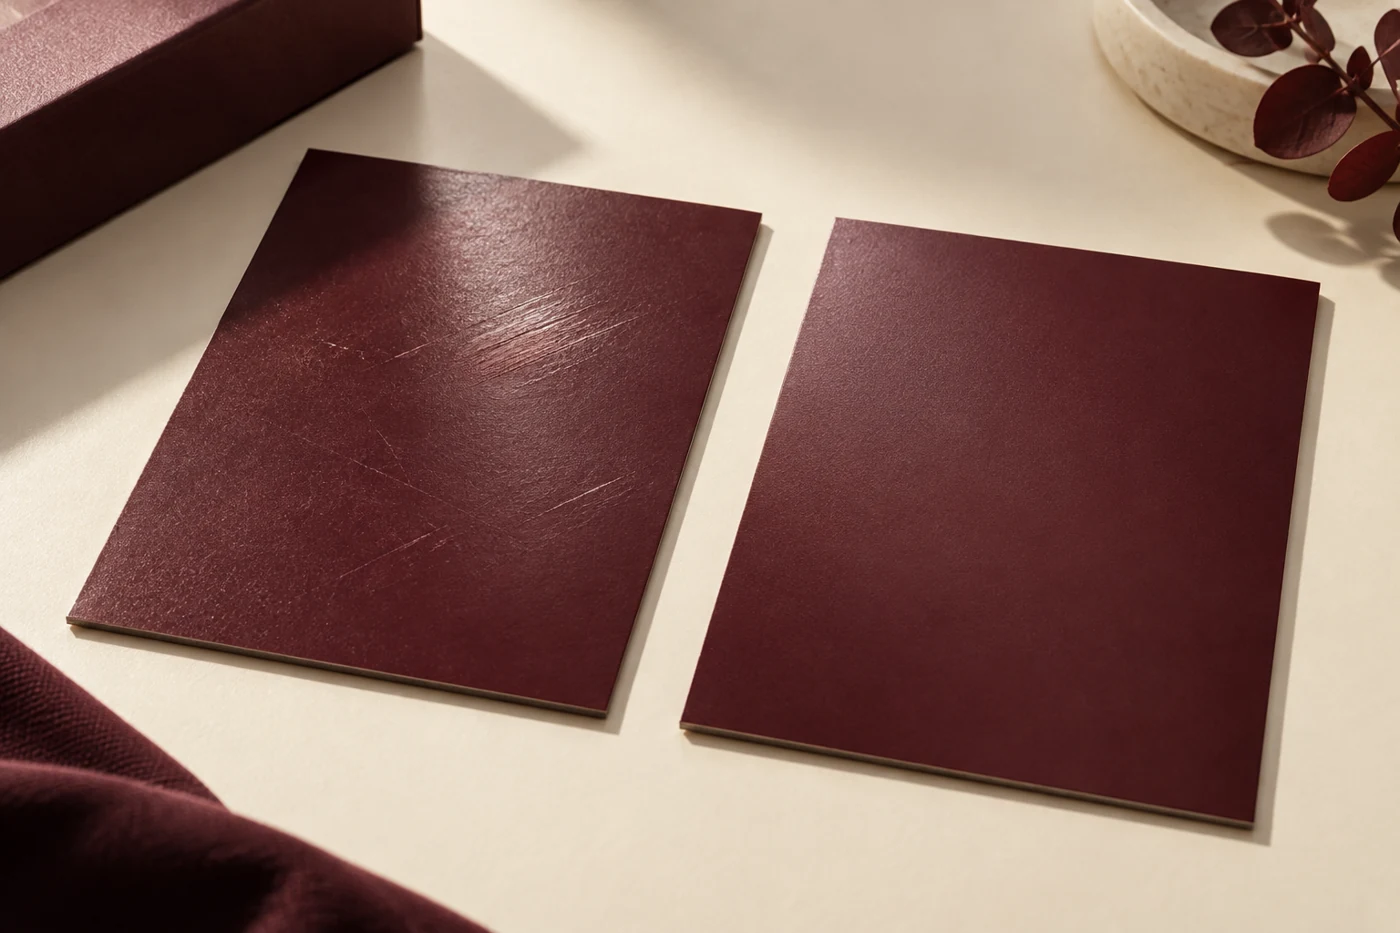
Why dark artwork needs a handling trial
Large areas of black, navy, charcoal, or burgundy can make small differences in reflection conspicuous. This does not mean every dark print is weak. It means appearance acceptance should reflect the design that customers will actually receive. A plain white sample cannot demonstrate how a finished dark panel will look after rubbing.
For book-style rigid gift boxes with matte or soft-touch finish options, the broad cover is an important inspection area. Include the hinge, corners, and any raised decoration as well. Review the presentation after normal opening, packing, and removal from the shipping case, rather than approving only the untouched cover.
Artwork can also change the commercial impact of a mark. A small scuff beside a logo may be more noticeable than a similar mark on an inconspicuous bottom panel. Identify priority surfaces with the supplier and agree on viewing conditions before production. Otherwise, the factory and receiving team may be making decisions under very different light and distance conditions.
Choose a protective finish by evidence
Matte, gloss, and soft-touch describe appearance or feel. They do not provide a universal durability ranking. Performance depends on the exact coating or film, the printed substrate, processing conditions, and the material rubbing against the box. Ask suppliers to identify their proposed finish precisely enough that the approved construction can be reproduced.
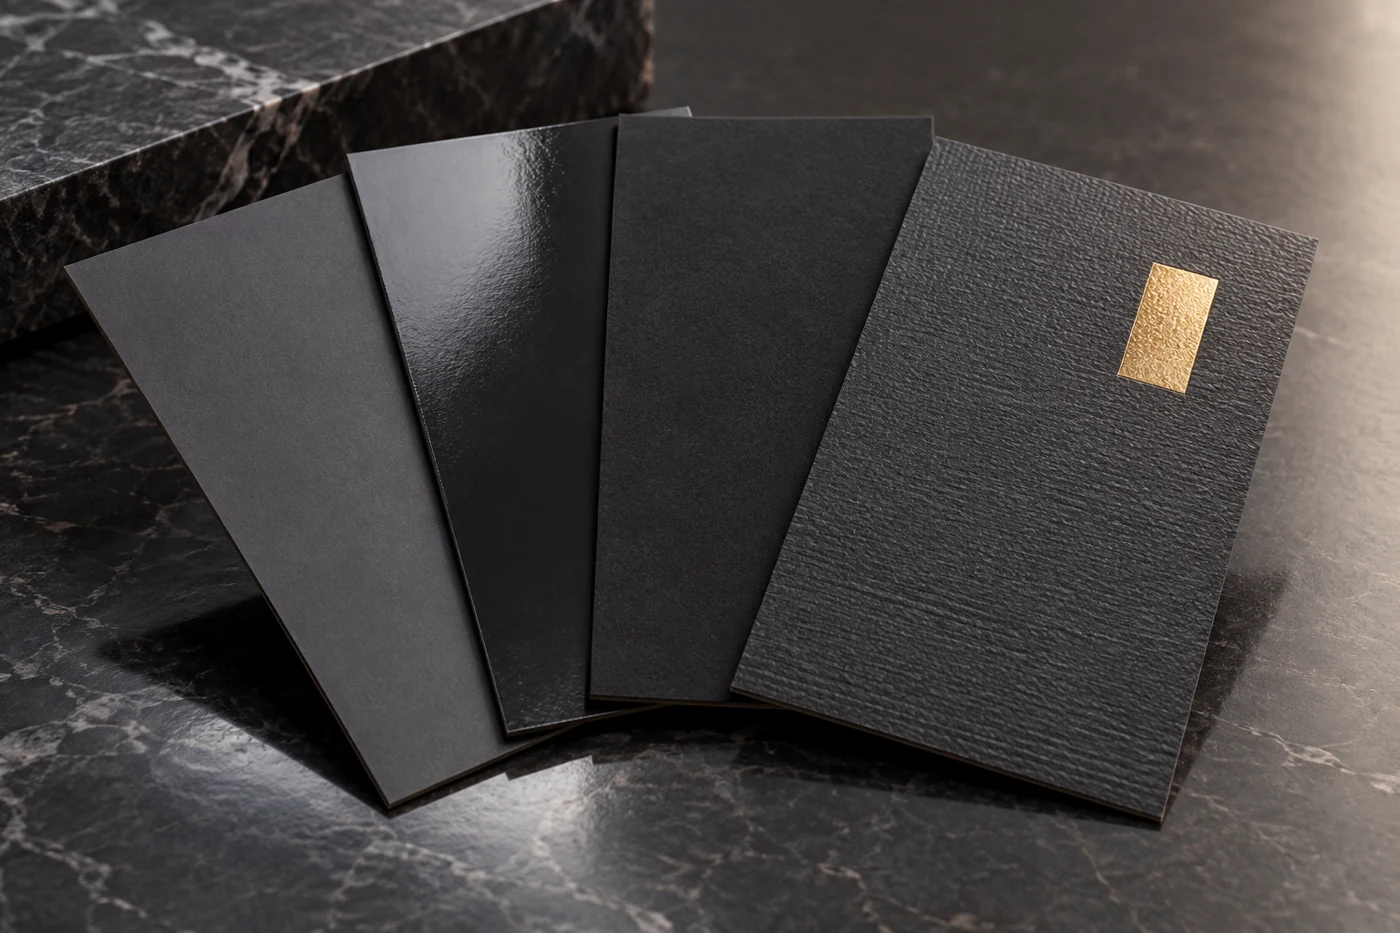
Standard matte or gloss finishes
Start with the intended visual result, then compare samples after the same handling exposure. A glossy surface can reveal fine scratches under directional light; a matte surface may show polished patches or pale scuffs. Neither observation justifies a blanket claim that one finish always performs better. Inspect the specific system on your artwork.
When comparing custom oil-bottle cartons with lamination and decorative finish options, request equivalent printed samples for each candidate finish. Keep the artwork, substrate, and evaluation conditions consistent. A comparison between different colors or different boards can hide whether the finish itself improved the result.
Soft-touch and specialist scuff-resistant films
A tactile surface may suit a premium product, but “soft-touch” alone is not an abrasion specification. Film manufacturers offer different grades for different priorities. For example, Derprosa’s official film catalogue distinguishes soft-touch, smudge-resistant, and anti-scuff products. Those distinctions support asking for a named grade and technical documentation; they do not prove that any particular finished box is scratch-proof.
PaperBoxPro’s drawer-box product page listing anti-scratch coating options provides a relevant starting point for discussing surface protection. Confirm the offered material and evaluate the actual drawer construction. The sleeve edge repeatedly contacts the moving tray, so an exterior flat-panel test alone may miss a local wear point.
Foil, embossing, and spot UV
Decorative elements introduce additional contact surfaces. Review whether raised areas meet another box face, whether foil edges remain intact, and whether the protective finish is compatible with the decoration sequence. Ask for a sample with the complete intended process stack. Testing an undecorated laminate and adding foil afterward leaves the final construction unverified.
Do not assume that a surface-protection upgrade establishes recyclability, food-contact suitability, or any other compliance outcome. If those properties are part of the brief, request evidence for the complete construction separately. This article addresses appearance durability, not a regulatory certification.
Specify a repeatable rub test
The public scope of ASTM D5264 on abrasion resistance of printed materials describes testing with a Sutherland Rub Tester or equivalent. It also explains that buyer and seller can use the practice against a predetermined abrasion or scuff requirement. The practical lesson is to agree on the acceptance requirement instead of merely writing “rub tested” on a purchase order.
Ask the supplier or testing laboratory to propose the appropriate procedure and document its conditions. The public overview does not replace the full procedure. Avoid copying an arbitrary number of rub cycles from an unrelated package and presenting it as a universal pass level.
- Identify the print substrate, ink system, protective finish, and production lot.
- Record the test equipment, method reference, load, cycles, and contact material.
- State how samples are conditioned and when they are tested after finishing.
- Define the inspected panels, lighting, viewing distance, and appearance criteria.
- Keep before-and-after photographs and a retained reference sample.
- Distinguish the standard laboratory method from any additional project-specific handling trial.
A comparative test is most useful when only one meaningful variable changes at a time. Compare two finishes on the same printed board, then assess the selected finish in the assembled box. Record both surface damage and any new problems, such as poor folding, difficult gluing, or decoration adhesion.
Look for abrasion after printing, too
A surface can leave the finishing operation intact and acquire damage during stacking, folding, filling, or shipment. Ask where the first visible marks appear. Examine samples after each major handling stage and inspect recurring contact areas on guides, belts, stacking surfaces, and packing tables. Check for loose debris rather than assuming the coating is the sole cause.
For printed cartons offered in tuck-end, two-piece, and magnetic-closure formats, match the trial to the actual delivery format. Flat cartons stacked in bundles have different contact patterns from assembled rigid boxes. The supplier’s packing method should therefore form part of the approved specification.
Discuss the sequence and time allowed between printing, finishing, converting, and packing with the production team. Appropriate drying or curing conditions depend on the materials and process. Do not impose a generic waiting period without the ink or coating supplier’s guidance. Retain a sample from the finished lot so that later inspection can distinguish a production issue from damage introduced downstream.
Reduce contact damage inside the shipping case
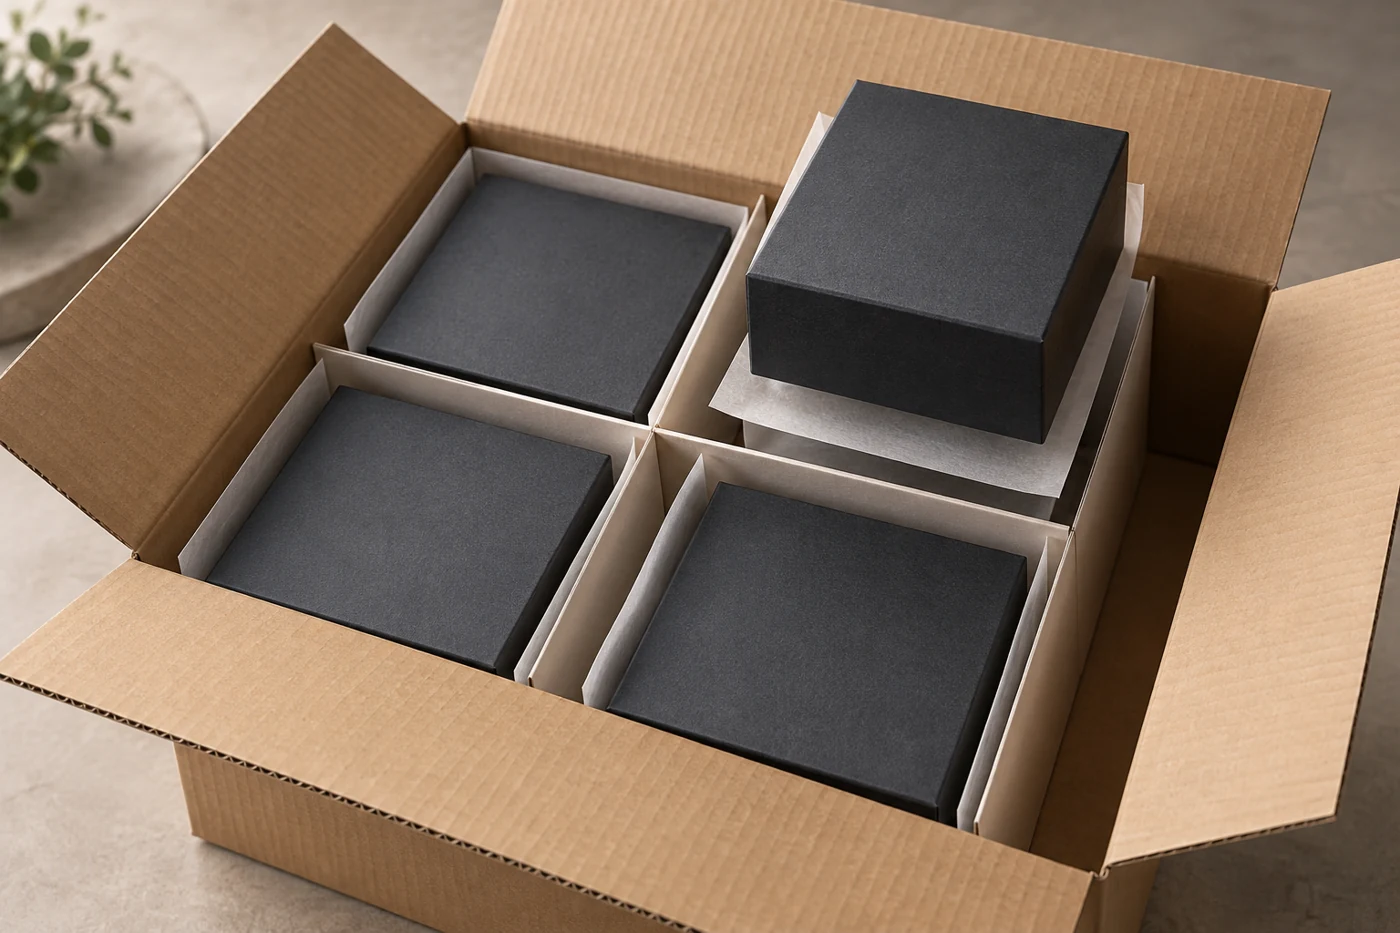
Protecting a retail surface may require controlling box-to-box movement, separating decorative faces, or changing how packs sit against the outer case. Trial smooth interleaves, dividers, or individual protection where appropriate. Each adds material, handling time, or volume, so compare alternatives using the actual pack-out rather than selecting extra protection by habit.
Check that the protective material does not introduce its own abrasion, leave residue, or transfer color. Confirm that boxes do not slide freely in partially filled cases and that tight packing does not create excessive pressure on raised decoration. Inspect top, middle, and bottom positions because their contact conditions can differ.
A portfolio such as custom printed packaging for bottles, cartridges, and other small retail products may use several boards and finishes. Build the shipping specification by construction and product family. A packing method that works for a small folding carton should not be assumed suitable for a large decorated rigid box.
Compare the cost per acceptable pack
A specialist finish can cost more per box while reducing sorting or replacement work. Conversely, a modest packing change may address the actual friction source without a premium film. Evaluate both routes with evidence. Use your own trial results; there is no responsible universal percentage saving to promise.
Compare the quoted packaging cost plus additional protection, packing labor, freight impact, inspection, and observed rework or replacement costs. Divide by the number of packs accepted for use. Keep trial quantities and assumptions visible so a small test is not mistaken for a reliable long-term defect forecast.
Before placing the order, request a written specification containing the approved finish, sample reference, decoration sequence, test conditions, appearance criteria, and shipping-case arrangement. Require review when a supplier substitutes the film, coating, substrate, or packing method. A similar-looking replacement can behave differently during handling.
Frequently asked questions
Will anti-scratch lamination prevent every mark?
No. Treat the description as a reason to investigate a specific material, not as a guarantee. Finished-pack performance still depends on processing, contact conditions, decoration, and handling. Verify it using agreed tests and representative pack-out samples.
Should we remove dark colors from the design?
Not automatically. First identify whether the problem is abrasion, transfer, fold cracking, or adhesion. Adjusting the finish or handling may preserve the intended artwork. Changing the color before diagnosis can conceal the symptom while leaving the cause unresolved.
Is a hand-rub check enough for approval?
It can help compare early samples, but hand pressure and repetition vary. Use it as screening, then agree on a repeatable evaluation with documented conditions. Include assembled-pack handling because flat samples cannot represent every contact point.
What should we send when asking for a solution?
Provide damaged and undamaged samples, artwork, the existing finish specification, photos of the shipping arrangement, and the stage when marks first appear. Explain which surfaces customers see and what your receiving inspection currently accepts.
Send PaperBoxPro your box construction, finish requirements, and handling concerns to discuss a sample comparison. Ask for a proposed surface-protection and pack-out trial before approving the final production specification.