
If a product still rattles, rotates, or arrives out of position inside a custom box, the usual problem is not simply that the box is “too big.” The insert and the outer box have not been engineered as one packaged-product system. A reliable solution starts with production samples of the actual product, controls it at the right contact points, allows realistic manufacturing tolerances, and is validated in the shipping configuration—not just judged from a dieline on screen.
For a packaging buyer, this distinction matters. Making every cavity tighter can slow packing, scuff finishes, crush paperboard, or make normal product variation impossible to accommodate. The goal is controlled restraint: enough retention to preserve orientation and separation, without excessive assembly force or pressure on fragile components.

Why a box can match the dimensions and still fail
A supplier may receive a product length, width, and height, add a nominal clearance, and build a cavity around those three values. That is only the beginning. Real products have shoulders, caps, tapers, buttons, seams, and weight concentrations. A cylindrical item can rotate in a rectangular opening; a narrow cartridge can pivot around its widest point; a multi-pack can let neighboring units collide even when the overall carton feels full.
Movement commonly comes from four design gaps:
- The wrong object was measured. A CAD model, prototype, or empty component may not match the filled, labeled, and capped production item.
- Only the maximum outline was considered. The insert needs to control the product at stable zones, not merely surround its widest dimensions.
- Tolerances were treated as a single number. Product variation, board thickness, die-cut accuracy, folding, glue position, and hand or machine assembly all stack together.
- The retail box was evaluated without the shipper. Vibration, repeated handling, and compression can reveal movement that a desk-side shake test misses.
This is why a slide-out box for 0.5 ml and 1 ml cartridges needs more than the nominal cartridge capacity. The buyer should specify the actual body diameter, overall length, mouthpiece profile, center of mass, and desired presentation orientation. The drawer, tray, and sleeve must also be checked together so that retention does not disappear when the drawer is partly open.
Design the insert around functions, not material names
Before asking for “paper,” “foam,” or “molded pulp,” define what the insert must do. Most projects need some combination of four functions:
- Locate: place the product consistently for opening and display.
- Restrain: limit sliding, lifting, rolling, or rotation.
- Separate: prevent product-to-product contact in multi-packs.
- Support: keep load away from fragile caps, windows, or projecting controls.
A well-designed insert may use two or three contact zones instead of gripping every surface. For a bottle, support at the shoulder and base can be more stable than a tight rectangular well. For a slim device, a shaped aperture plus a finger notch can hold the body while preserving removal access. For multiple cones, longitudinal partitions can prevent lateral contact without squeezing the product.

That functional brief also makes quotations comparable. If one supplier prices a decorative tray and another prices a transit-protective insert, the numbers describe different outcomes. Give every bidder the same retention requirement, packing method, product samples, and test expectation.
How much clearance should you allow?
There is no universal clearance that works for every paper box. The correct value depends on the material, geometry, product variation, finishing layers, packing speed, and acceptable removal force. A practical engineering process is to define a target fit and then test the upper and lower ends of the tolerance range.
Measure production-representative products
Measure several units from normal production, including labels, shrink bands, caps, and other components that will be present during packing. Record the minimum and maximum at every intended contact zone. If the product is filled, confirm whether filling changes the shape or weight distribution. A single “golden sample” can hide variation that later causes loose or jammed packs.
Build a tolerance stack
List the variables that can change the final cavity: product dimensions, paperboard caliper, lamination, scoring and folding behavior, die-cut position, glue placement, and insert placement inside the outer box. Evaluate the combinations most likely to create the tightest and loosest fit. The objective is not to predict every microscopic variation; it is to prevent a design that works only at nominal dimensions.
Specify a usable acceptance test
Replace “snug fit” with observable criteria. For example: the product stays in its intended orientation when the closed pack is gently inverted; adjacent units do not touch; the product can be removed without tools; and the insert shows no tearing or permanent collapse after a defined number of pack-and-remove cycles. These are project-specific acceptance criteria, not substitutes for transit testing.
For the disposable vape packaging formats shown here, the correct retention method will differ between a single-device tuck carton, a multi-device drawer, and a premium rigid presentation box. Device dimensions, accessory placement, and retail orientation should therefore be stated by SKU rather than covered by one generic tray drawing.
Which insert material is appropriate?
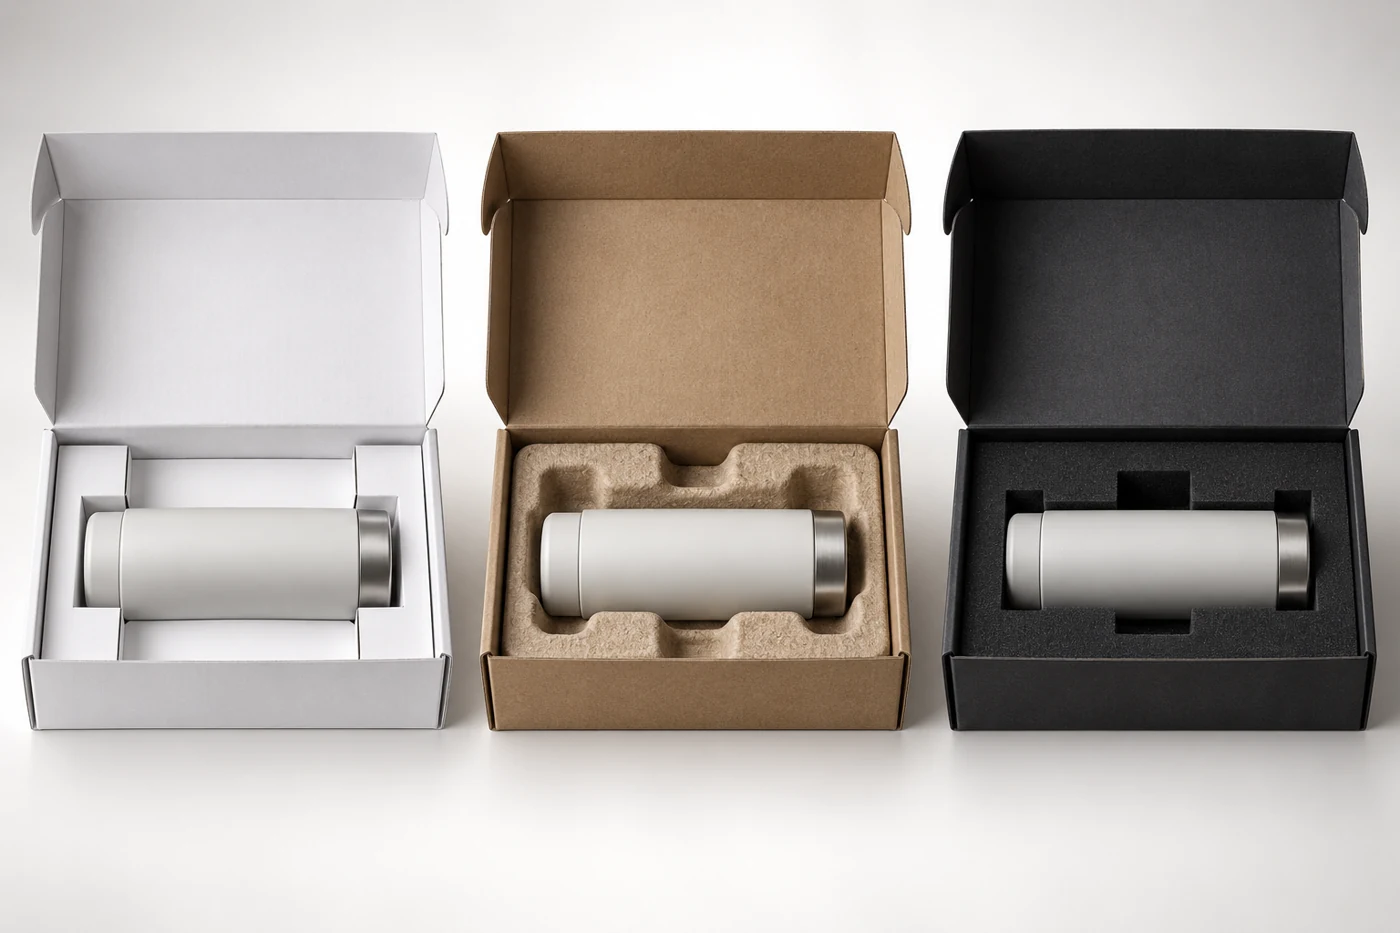
| Insert type | Useful when | Main trade-offs to review |
|---|---|---|
| Folded paperboard | The product can be restrained with tabs, bridges, partitions, or folded platforms | Efficient to print and ship flat in some designs, but fold recovery, grain direction, and assembly labor affect fit |
| Molded fiber | A contoured tray and broader support area are needed | Tooling, surface texture, draft angles, dimensional variation, and minimum wall features need early review |
| Cut foam | Precise cavities, soft contact, or high presentation value are priorities | Density, compression set, odor, surface marking, and end-of-life compatibility vary by foam specification |
| Paperboard dividers | Several similar units mainly need separation and organization | Partitions must resist buckling and must not create sharp pressure points |
Do not select solely from broad environmental labels. Ask for the exact material specification, coatings, adhesives, local disposal assumptions, and whether the insert can be separated from the box. Recyclability and recovery outcomes depend on the complete construction and the collection system available in the destination market.
A multi-pack such as a pre-roll box with cone divider options illustrates the difference between separation and cushioning. Dividers can organize products and limit contact, but their dimensions and strength still need to match the cone format, pack count, handling route, and outer-box structure. Likewise, choosing an insert does not by itself establish child-resistance or regulatory compliance; those claims require the applicable package system, test evidence, and market-specific review.
Make the outer box and insert work as one system
An insert cannot compensate for an outer box that flexes excessively, opens unintentionally, or gives the tray room to migrate. Confirm how the insert indexes against the walls, base, lid, drawer, or shoulder. Check whether the product load is transferred into strong panels or concentrated on a window edge, magnetic closure, thumb notch, or glued seam.
In a drawer-style 1 ml cartridge box, for example, the tray aperture, finger access, drawer travel, and sleeve compression should be reviewed together. Increasing tray grip may appear to solve movement but can make the customer pull harder, which can deform the drawer or eject the product suddenly. A balanced design preserves both retention and controlled removal.
Outer shipping protection remains important. The retail insert and the shipping pack have different but connected jobs: the insert controls presentation and local movement, while the shipping configuration must address the handling and transport hazards of the actual route. Evaluate both layers together rather than assuming a premium retail tray will make an unsuitable shipper perform adequately.
Use a sample sequence that exposes fit problems early

Approve structure before paying for a fully decorated production sample. A useful sequence is:
- Dimension review: share drawings and several production-representative products, then identify protected and no-contact zones.
- Plain structural sample: assess packing, removal, retention, lid or drawer operation, and insert indexing using the intended product.
- Loaded pilot sample: assemble the pack with normal operators and materials; record time, errors, damage, and fit at product-size extremes.
- Decorated sample: confirm that print, lamination, foil, windows, or other finishes have not changed folds, friction, or cavity dimensions.
- Distribution validation: test the complete packaged-product and shipping configuration against the actual route and risk profile.
ISTA explains that its 3-Series procedures are general simulation performance tests designed to reproduce damage-producing motions, forces, conditions, and sequences in transport environments. ISTA also advises retesting when the product, package, or process changes. Buyers should select an appropriate protocol with a qualified laboratory or packaging professional rather than treating one generic drop test as universal proof. Review the official ISTA test-procedure overview and its design and testing guidance.
What should you send with an RFQ?
A complete request for quotation reduces assumptions and makes insert options easier to compare. Include:
- production product samples and dimension ranges for each SKU;
- filled weight, center-of-mass concerns, and fragile or no-contact areas;
- pack count, presentation orientation, and accessory positions;
- acceptable and unacceptable movement, plus removal expectations;
- retail box style, shipping case configuration, pallet or parcel route, and climate concerns;
- packing method, labor target, automation constraints, and required sample stages;
- material restrictions, destination markets, and evidence needed for any environmental or regulatory claim;
- inspection plan and change-control rules for the product, insert, and outer box.
For broader assortments such as carton formats for bottles, tinctures, edibles, and cartridges, separate the RFQ by product family. One adaptable outer graphic system may be possible, but the internal geometry should still be validated for each product and pack count.
Frequently asked questions
Should the product be completely immovable?
Not always. The package needs to control harmful movement and preserve presentation without creating damaging pressure or difficult removal. Define what movement is acceptable for the product and route, then verify it with samples and testing.
Can a tighter insert fix transit damage?
It may reduce one mode of movement, but it can transfer shock to a fragile area or cause assembly damage. Investigate the damage location, product orientation, outer shipper, cushioning, and distribution hazards before changing cavity size.
Can one insert fit several SKUs?
Sometimes, especially when contact zones and dimension ranges overlap. Modular tabs or interchangeable trays may reduce tooling, but every SKU and configuration still needs fit, packing, and transit validation.
Is a paper insert always the lowest-cost choice?
No. Unit material cost is only one part of total cost. Tooling, assembly time, storage volume, reject rate, product damage, and the number of SKU-specific components can change the result. Compare the complete packed cost and performance.
Turn “snug” into a measurable packaging specification
Product movement is best solved before artwork approval. Give the packaging team representative samples, dimensional ranges, protected areas, assembly conditions, and a clear distribution profile. Then use plain structural samples to tune contact points and tolerances before decorative finishes lock the design.
If you are comparing insert concepts for a cartridge, bottle, device, or multi-pack, send PaperBoxPro your product dimensions, pack count, box style, and shipping route. Ask for the proposed retention method and sample plan—not just an outside box size—so the quotation reflects the performance you actually need.